In This Chapter
Managing Queries
Create a GoalNav® Query
To create a new GoalNav® query on the visit level, click on the blank dialogue box icon right next to the name of the visit.
To create a new GoalNav® query on the form level, click on the blank dialogue box icon right next to the name of the form.
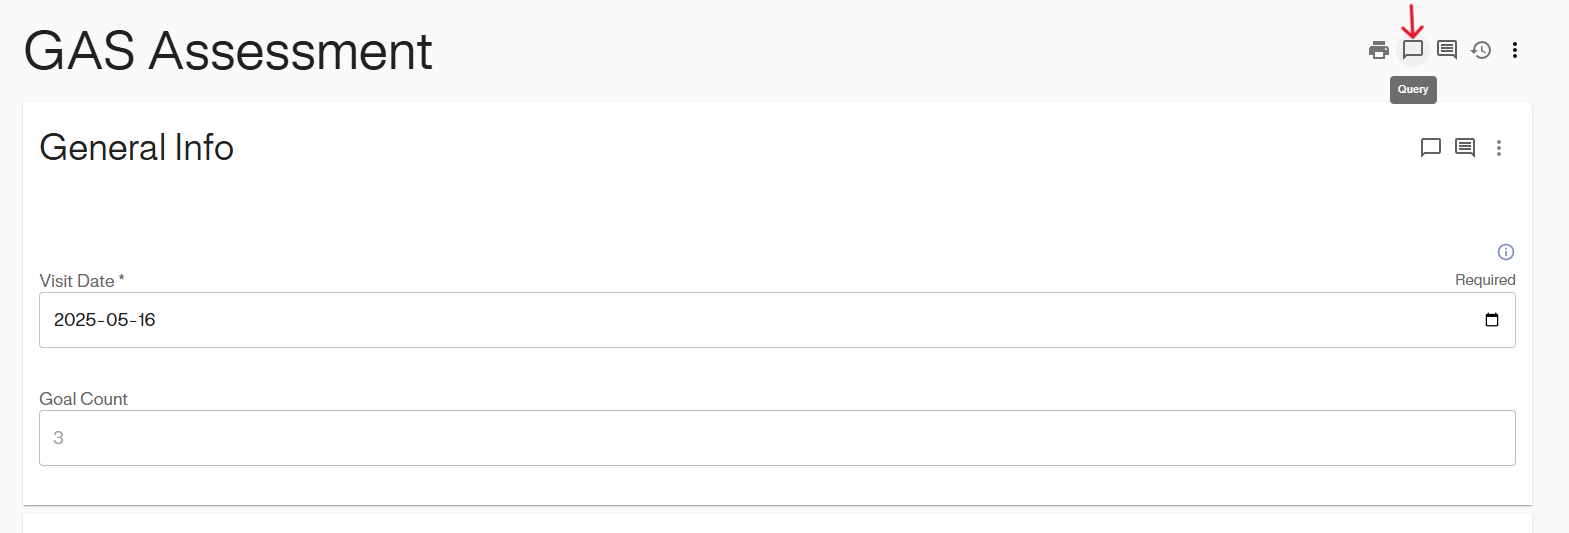
To create a new GoalNav® query on the section level, click on the blank dialogue box icon at the top of the form section.

Click the icon to open a pop-up window. Here, start a new query thread in GoalNav® for the selected subject and visit. In the text box, enter the query. Then, click the “Post” button to submit it. When a new query is posted, the author of the visit will be notified.

View All GoalNav® Queries
To view all open queries in GoalNav®, click the dialogue icon, which will be highlighted in red when unresolved queries are present within the study.
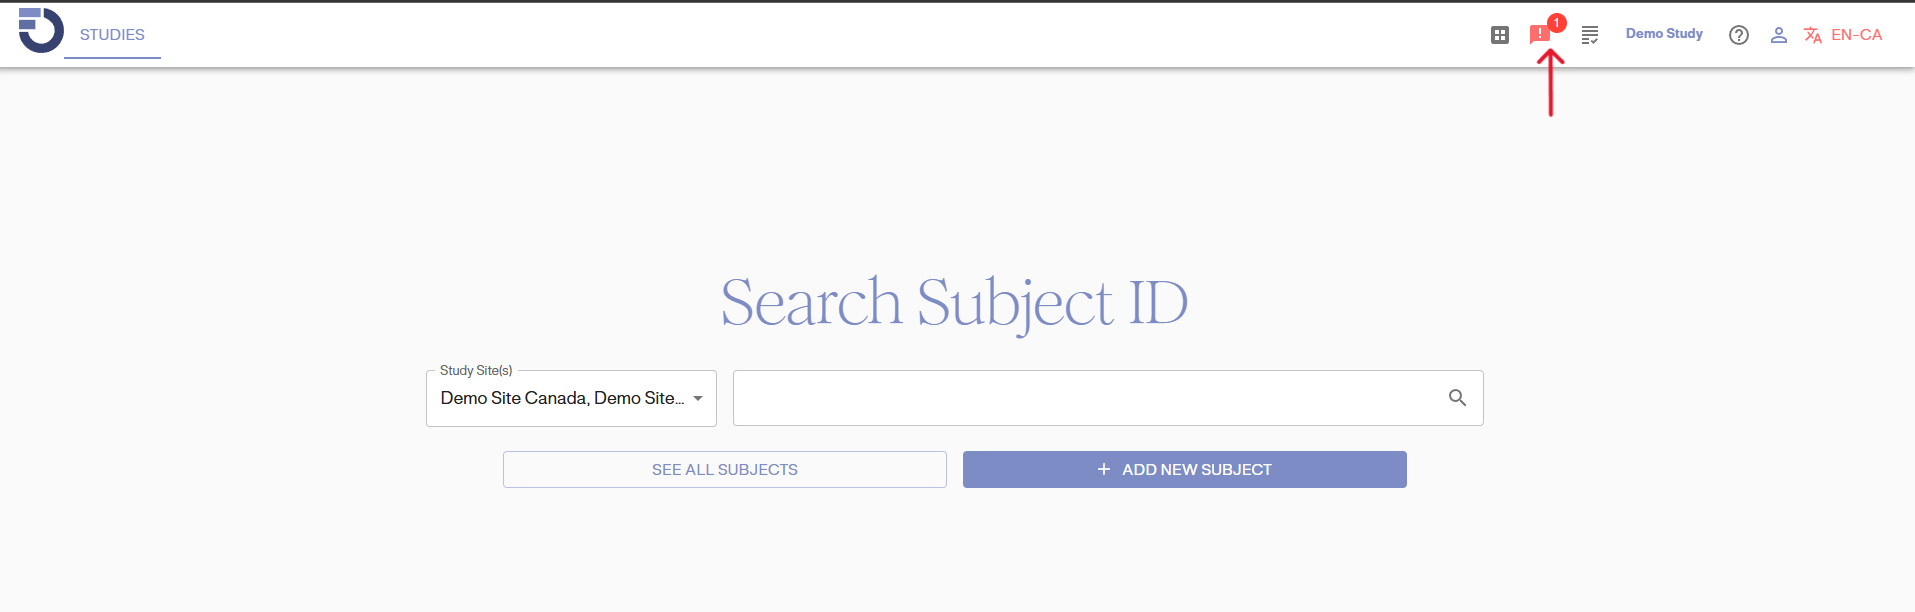
Click on the dialogue icon button, as shown in the image above, to display all open queries on the page, as highlighted in the image below. Click the link icon (the arrow icon) on the right-hand side of each query, to be directed to that specific query thread. For example, the first query is selected for viewing in this case.

Click the link icon to open a pop-up window to display the visit, form, or form section where the query was created, including the entire query thread.

Respond to GoalNav® Queries
To respond to a query thread in GoalNav®, first navigate to any visit that has an open query. Alternatively, click the dialogue icon in the top bar and select the appropriate query thread to access the Query page. To view the query, click on the red dialogue box icon. Please be aware that a red dialogue icon next to the visit name, form name, or form section name indicates there is an active query for that visit.
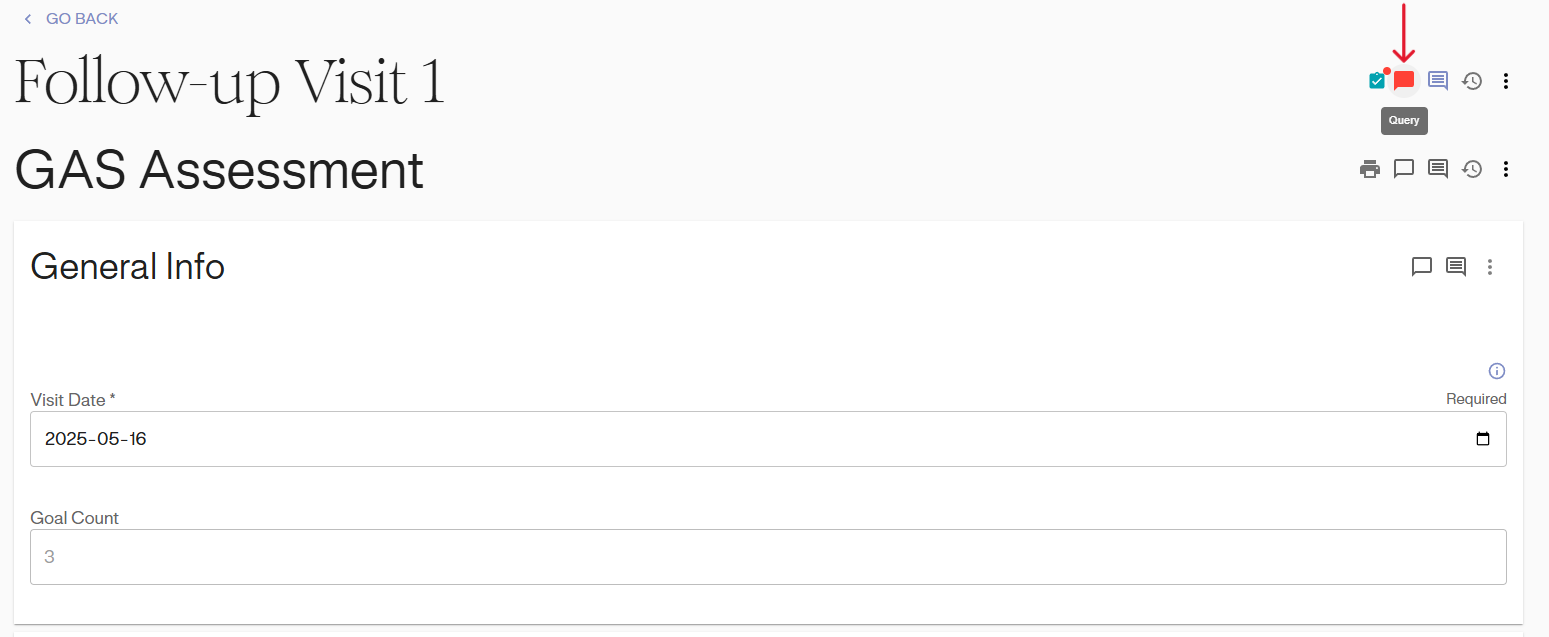
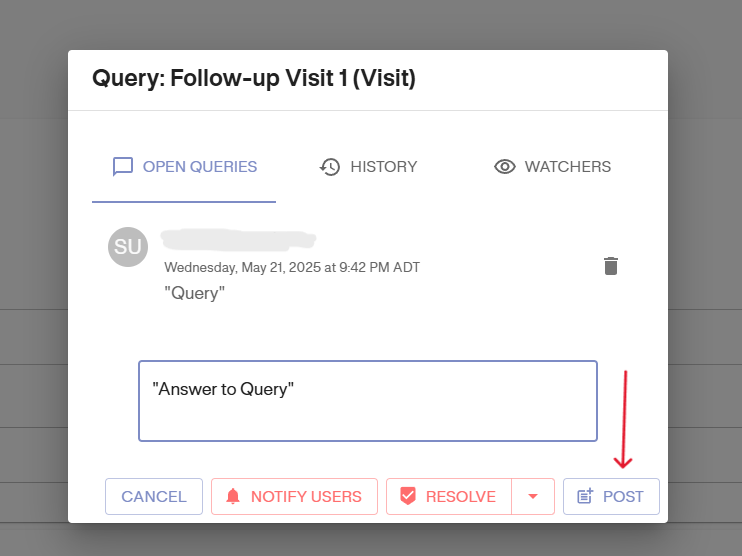
Click on the red dialogue icon to open a pop-up window that displays the active query thread. In the text box, enter the answer to the query. Click on “Post” to post the response. Posting a response will notify the author of the data and any users who have previously responded/participated in the query thread.
Close Queries
Once an answer to a query is accepted and validated, click the “Resolve” button to close the query. Once “Resolve” is selected, the resolved query will disappear. Note: The Data Monitors should only close queries they created themselves or those that have been resolved. They should not close any unanswered queries. To close a query, follow the instructions below:
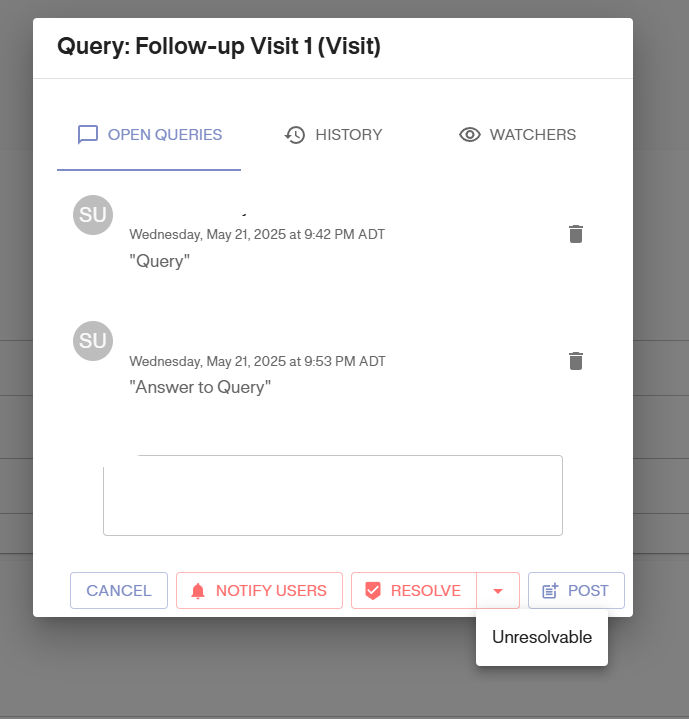
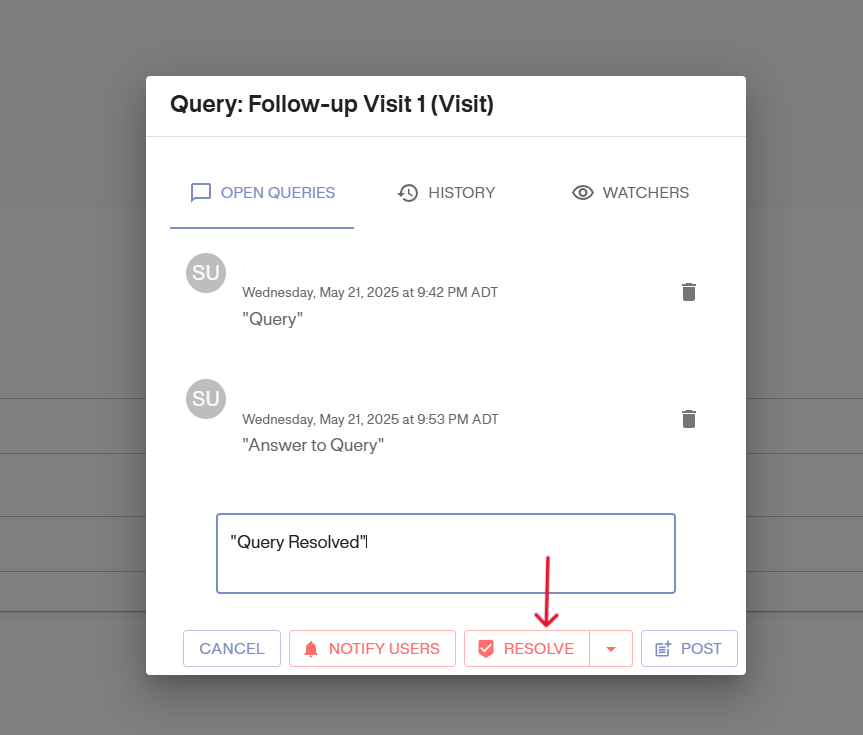
Click on the Query Icon on the visit details page.
This opens the existing query thread with the initial query and subsequent replies. Click on the “Resolve” button to close the query. A query can also be closed without a resolution. To do so, click the arrow icon next to the “Resolve” button. This opens a dropdown menu with an option labeled “Unresolvable.” Click on this option to close the query with an “Unresolvable” status.
Closing query with an unresolvable status: