Adding Subjects
If a subject has not yet been enrolled in the system, you can add them manually.
Initiate Subject Creation
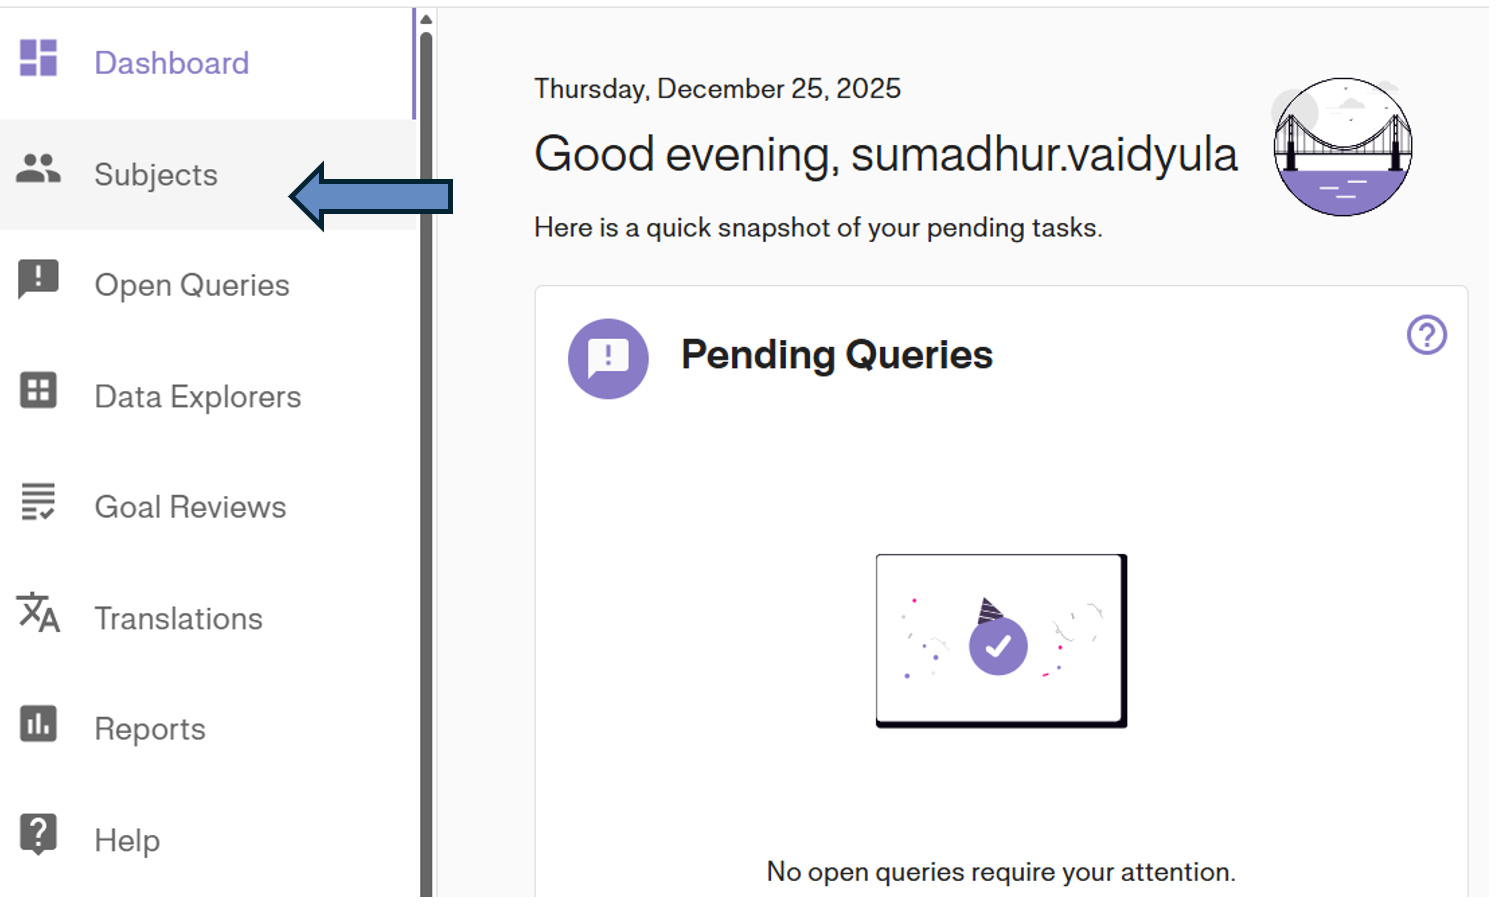
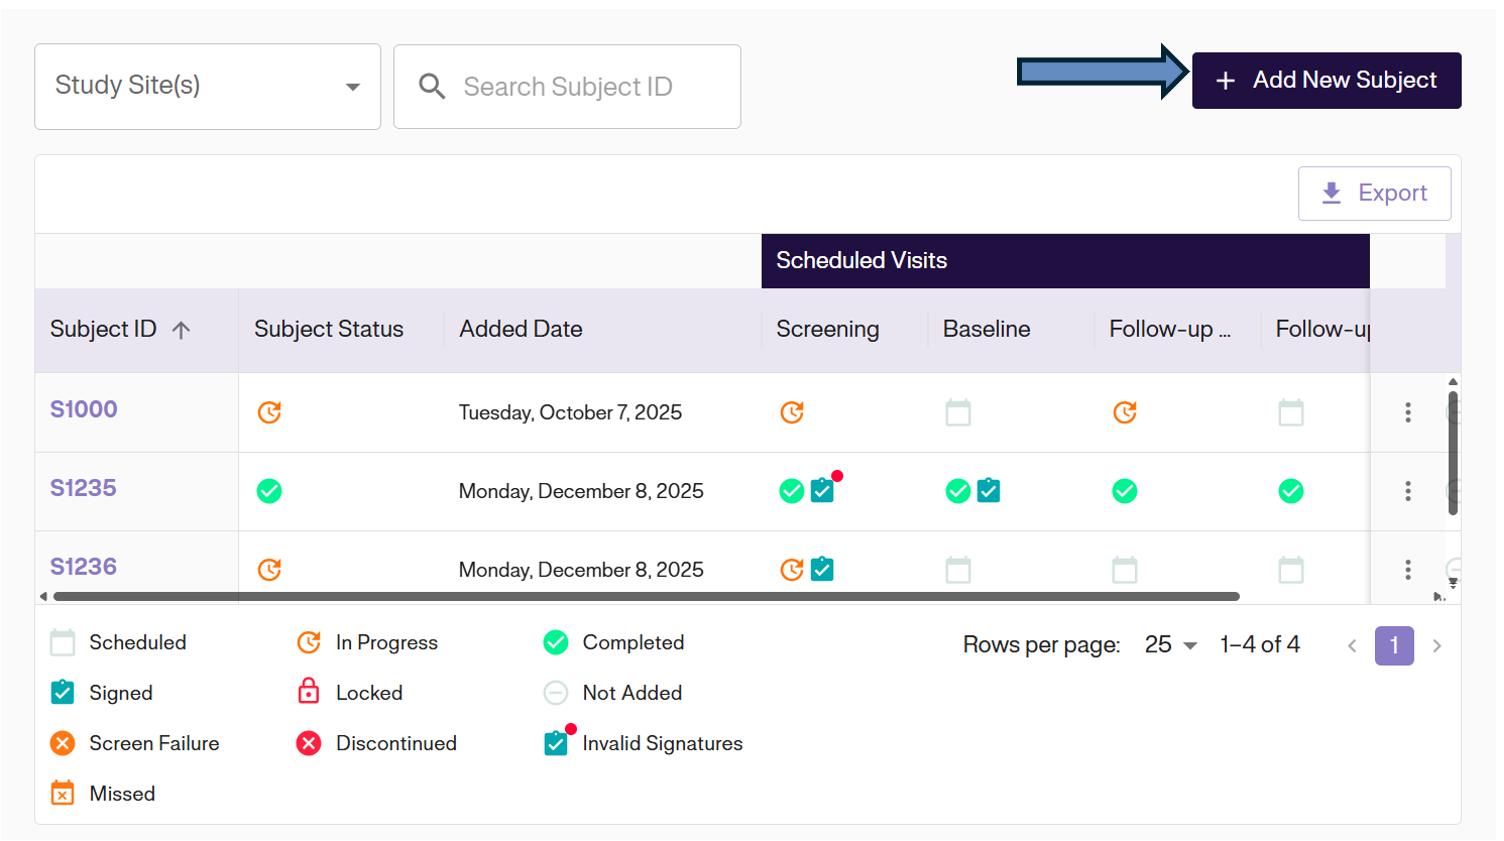
Navigate to the Subject Matrix by clicking Subjects in the left navigation menu. Then, click the + ADD NEW SUBJECT button located at the top right of the dashboard.
Enter Details
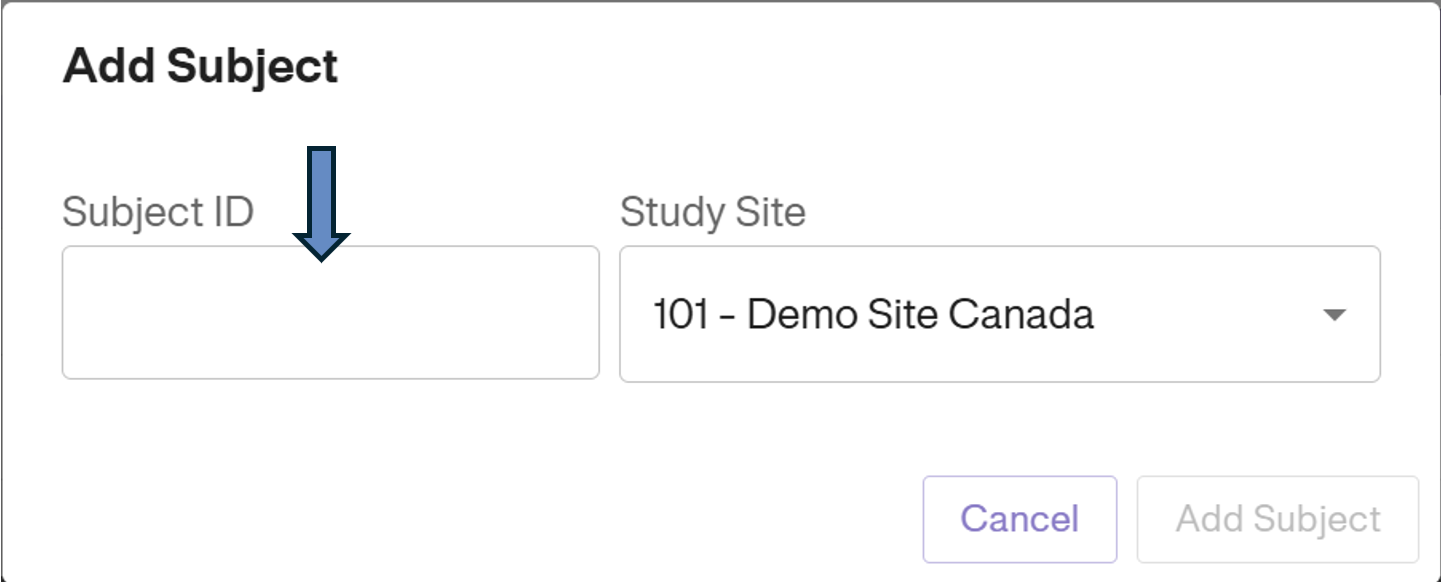
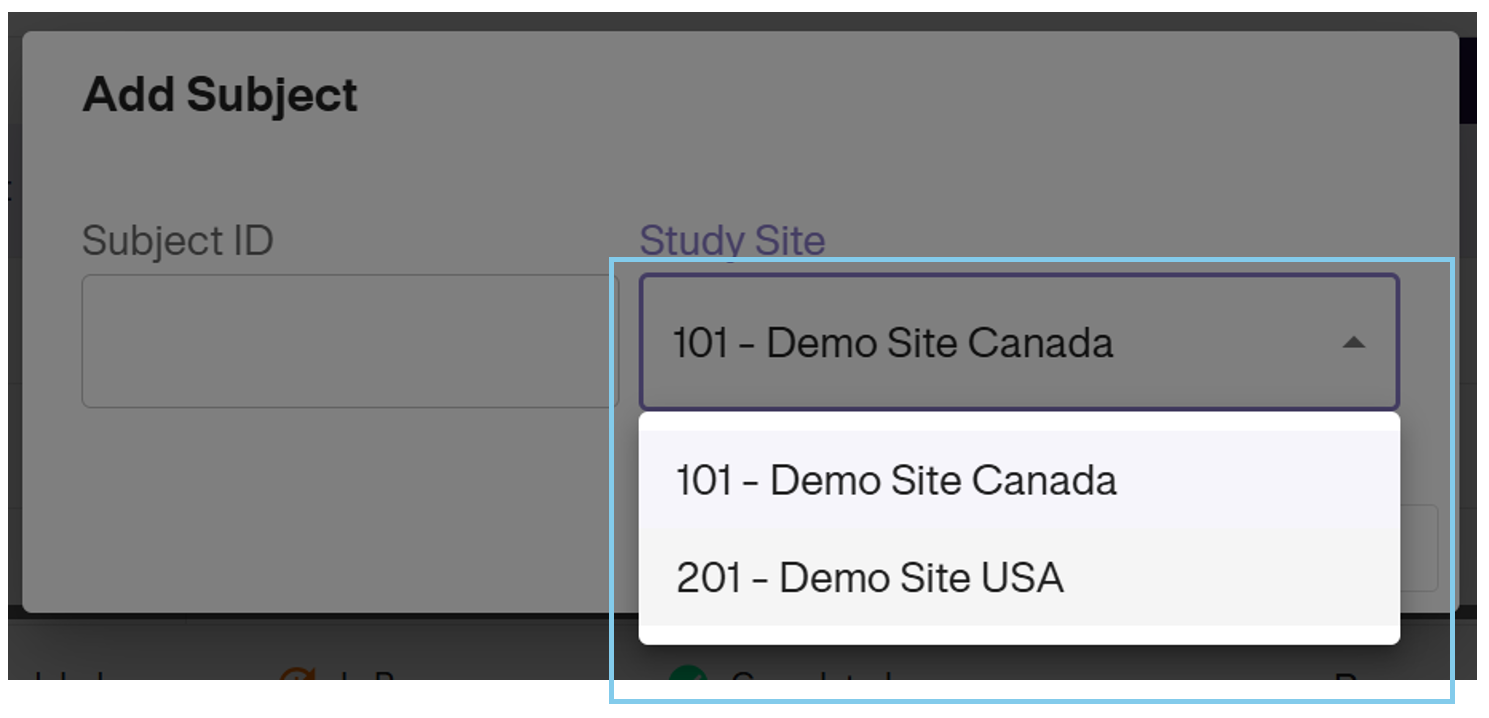
A pop-up window will appear. You are required to enter:
- Subject ID: The unique identifier for the subject.
- Study Site: Select the appropriate Site from the dropdown menu.
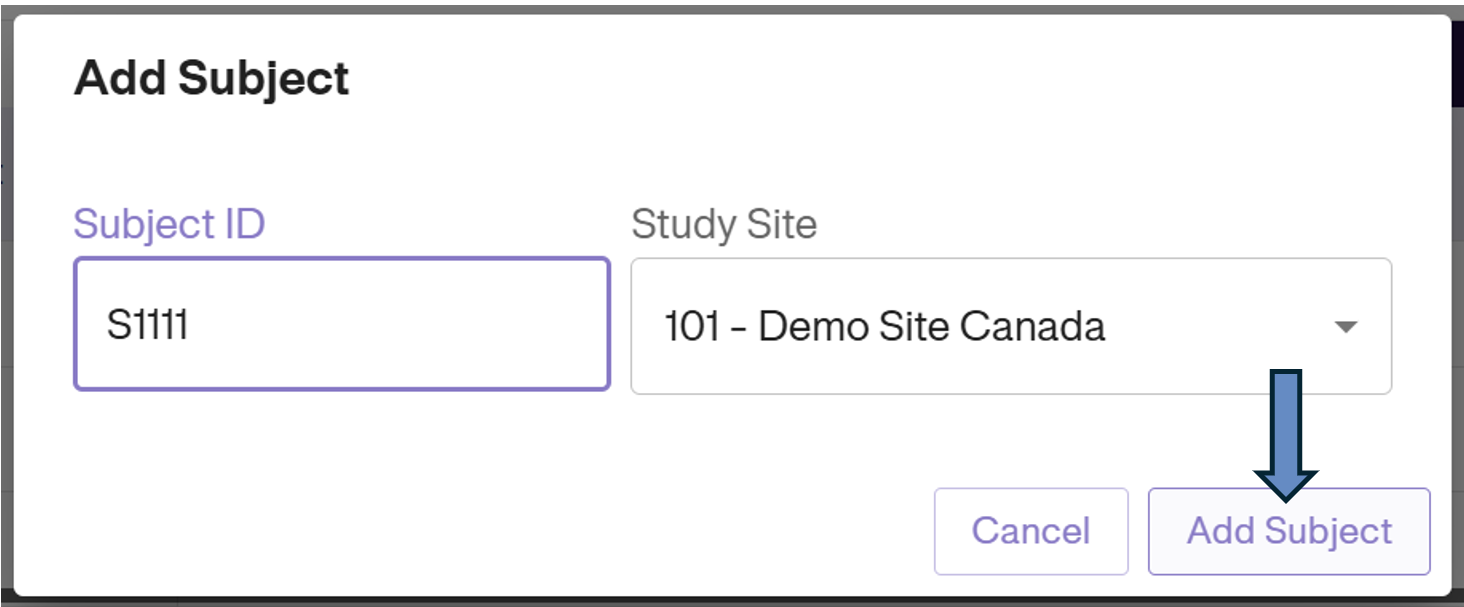
Important: Please double-check the Subject ID and Site before proceeding.
Confirm & View
Click the Add Subject button at the bottom of the form to finalize the enrollment.
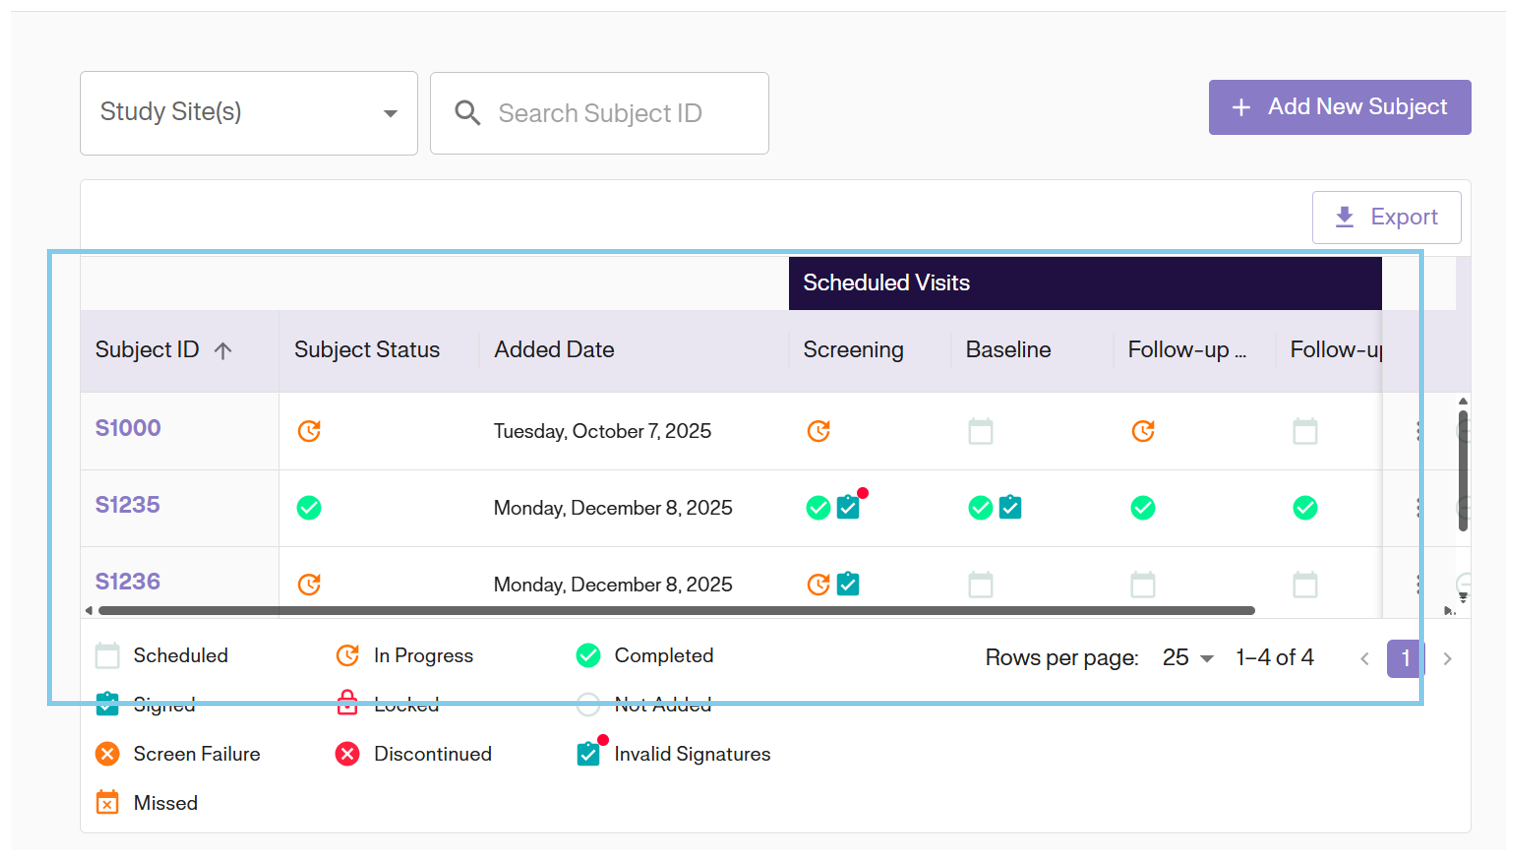
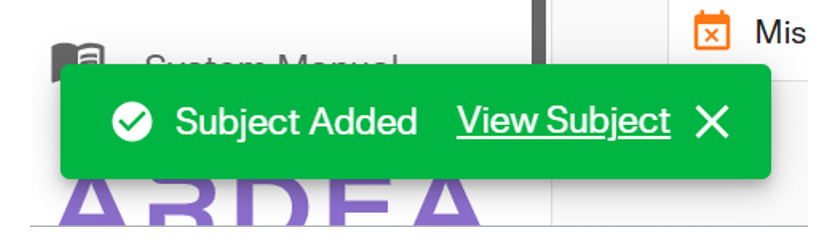
Once added, a green status bar will appear at the bottom of the screen. Click View Subject on this notification to immediately open the new subject’s profile.
The new subject will now also be visible in the Subject Matrix list.