Signatures
Once data entry is complete, you may be required to provide a digital signature to validate the records. This section outlines how to check signature status and apply signatures at the Visit Level.
Checking Signature Status
You can identify the status of a visit by looking for the clipboard icons in the Subject Matrix and Dashboard.
- Signed: A Teal Clipboard icon indicates the visit has a valid signature.
- Invalid Signature: A Clipboard with a Red Dot indicates the signature is Invalid (typically because data was edited after it was signed).
- Missing Signature: If no clipboard icon is present next to a completed visit, it has not yet been signed.
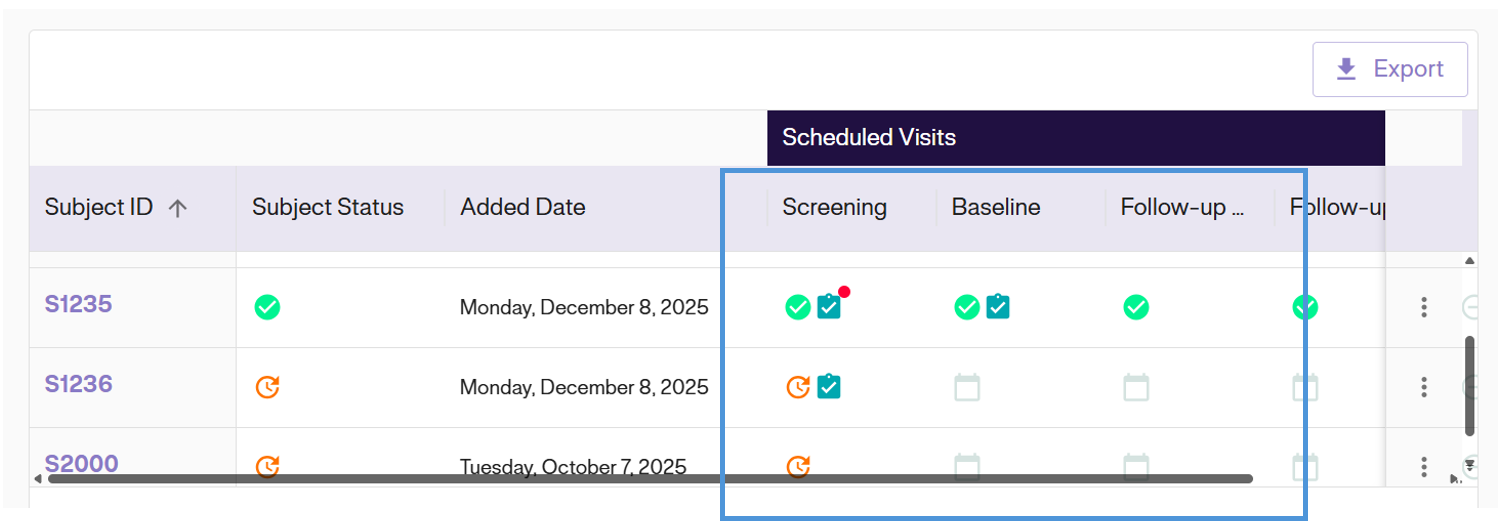
In Subject Matrix
The matrix view allows you to quickly scan all subjects to see which visits require signatures or have invalid signatures.
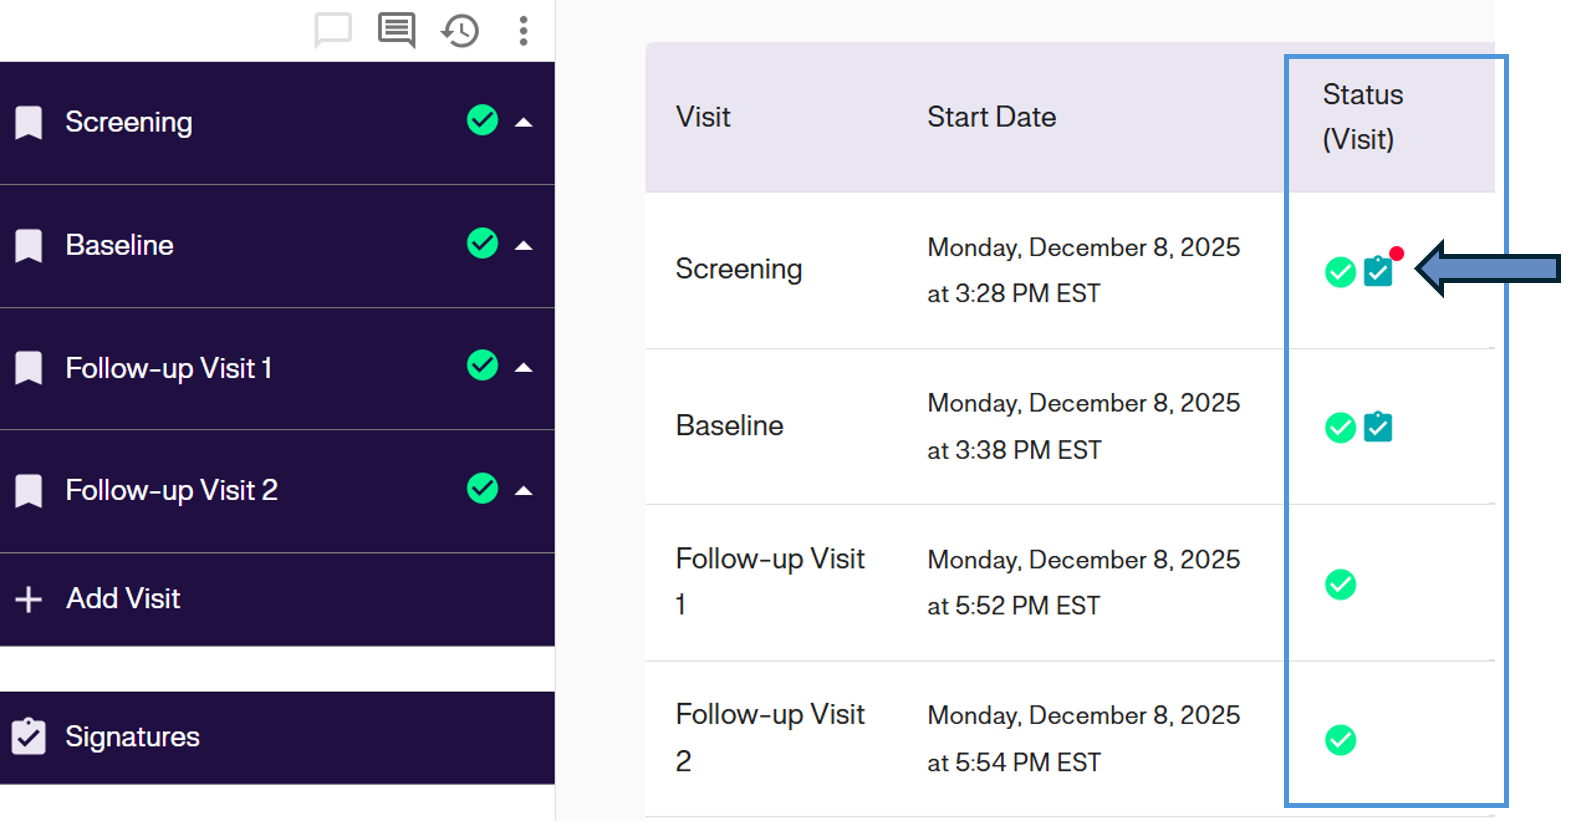
In Subject Dashboard
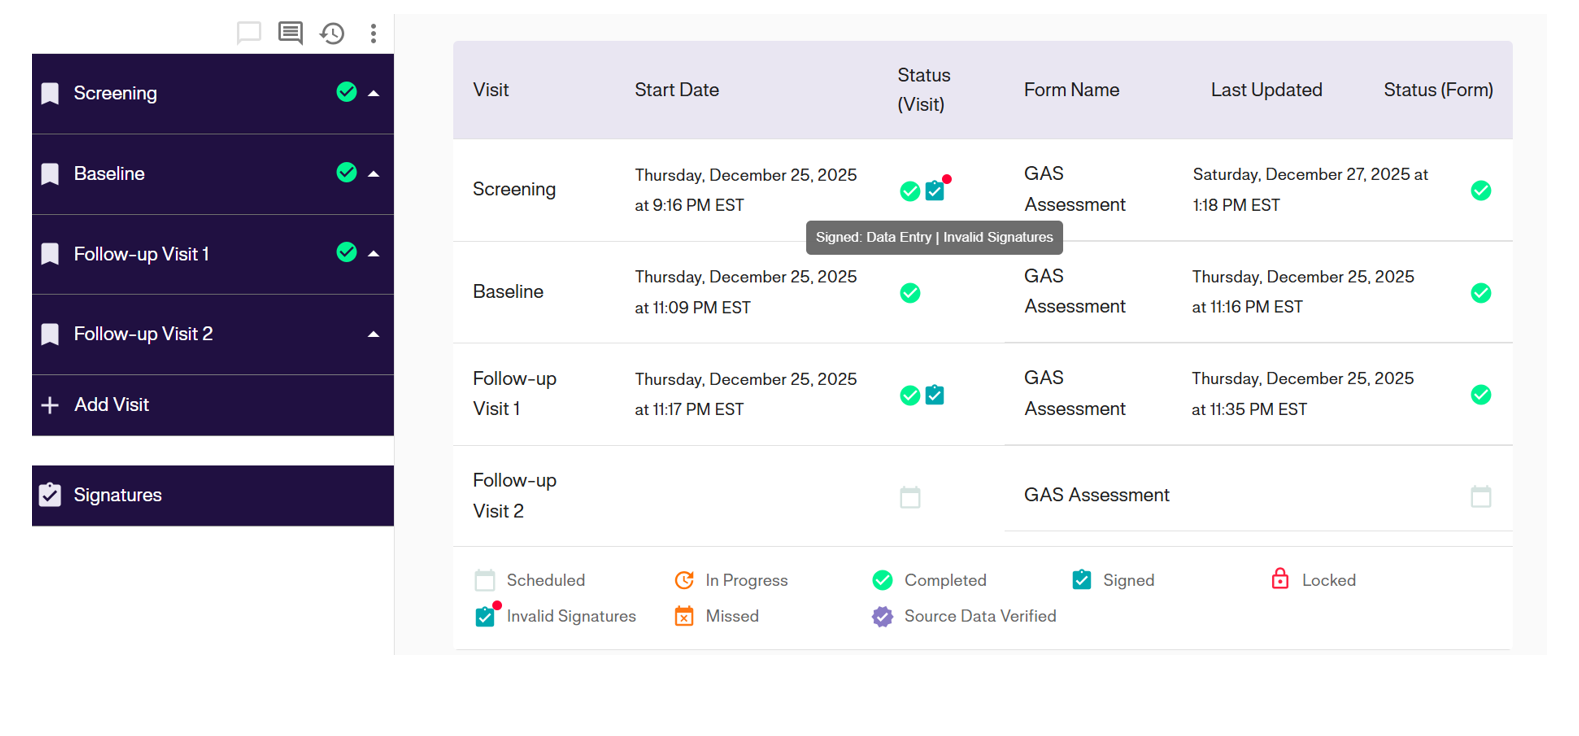
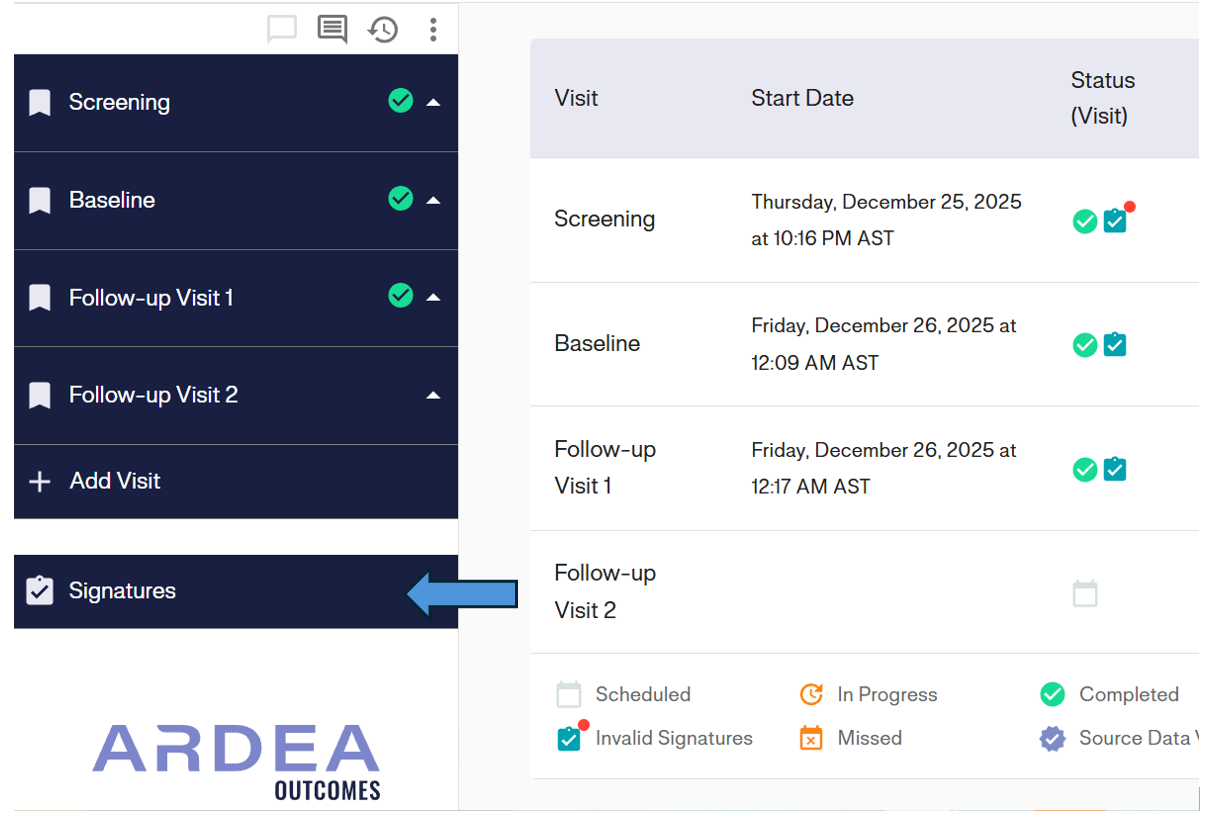
The status column displays specific icons for each visit.
- Screening: Shows a Red Dot, indicating an Invalid Signature (requires re-signing).
- Baseline: Shows a Teal Clipboard, indicating a valid Signature.
- Follow-up Visit 1: Shows no clipboard, indicating the signature is Missing.
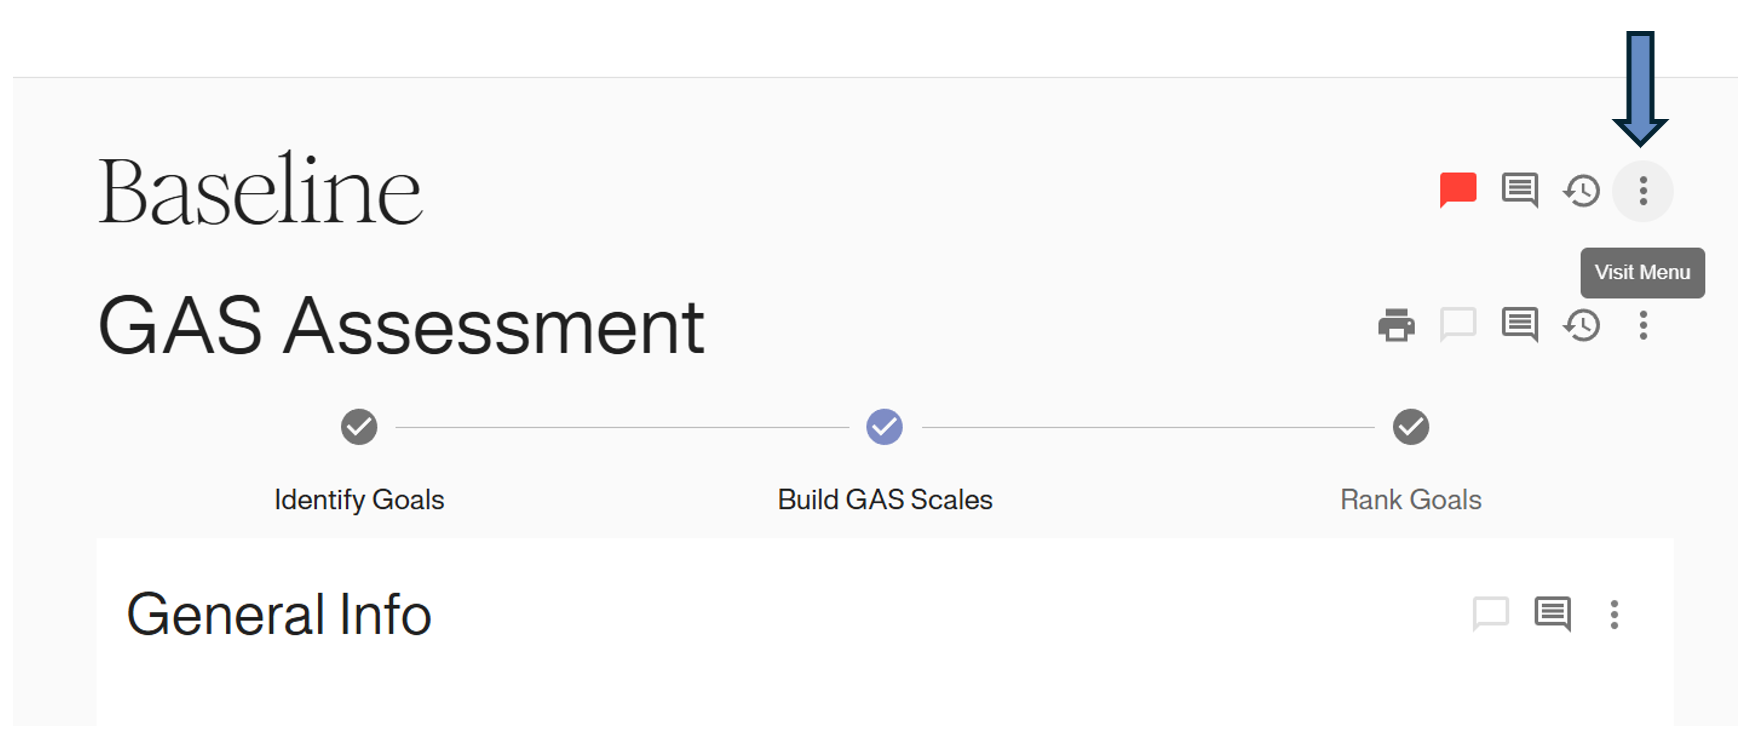
Signing a Visit
To apply a signature to a specific visit (e.g., Baseline):
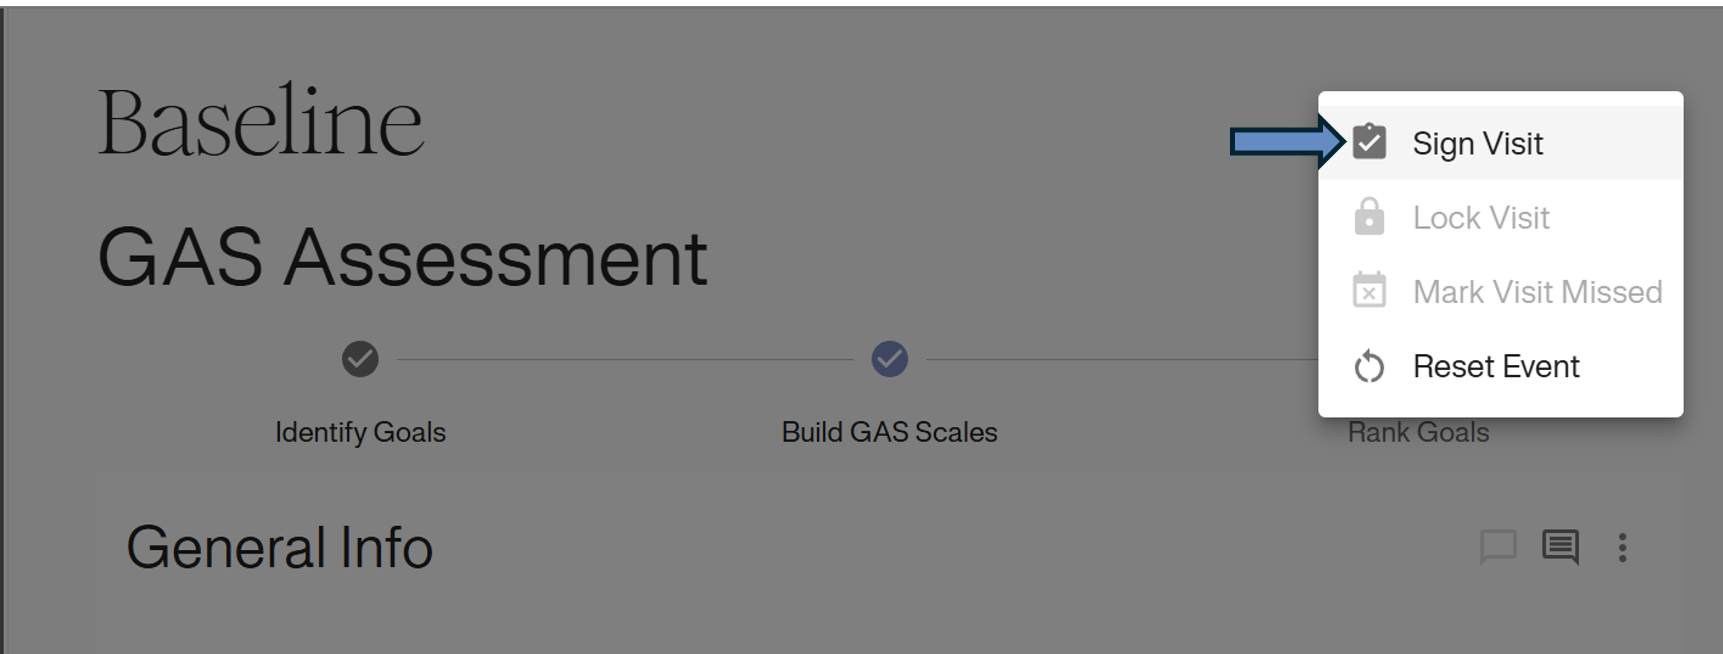
1. Access the Menu: Navigate to the visit page. Click the Options Icon (⋮) in the Visit Header (top right).
2. Select Sign Visit: Click Sign Visit from the dropdown menu.
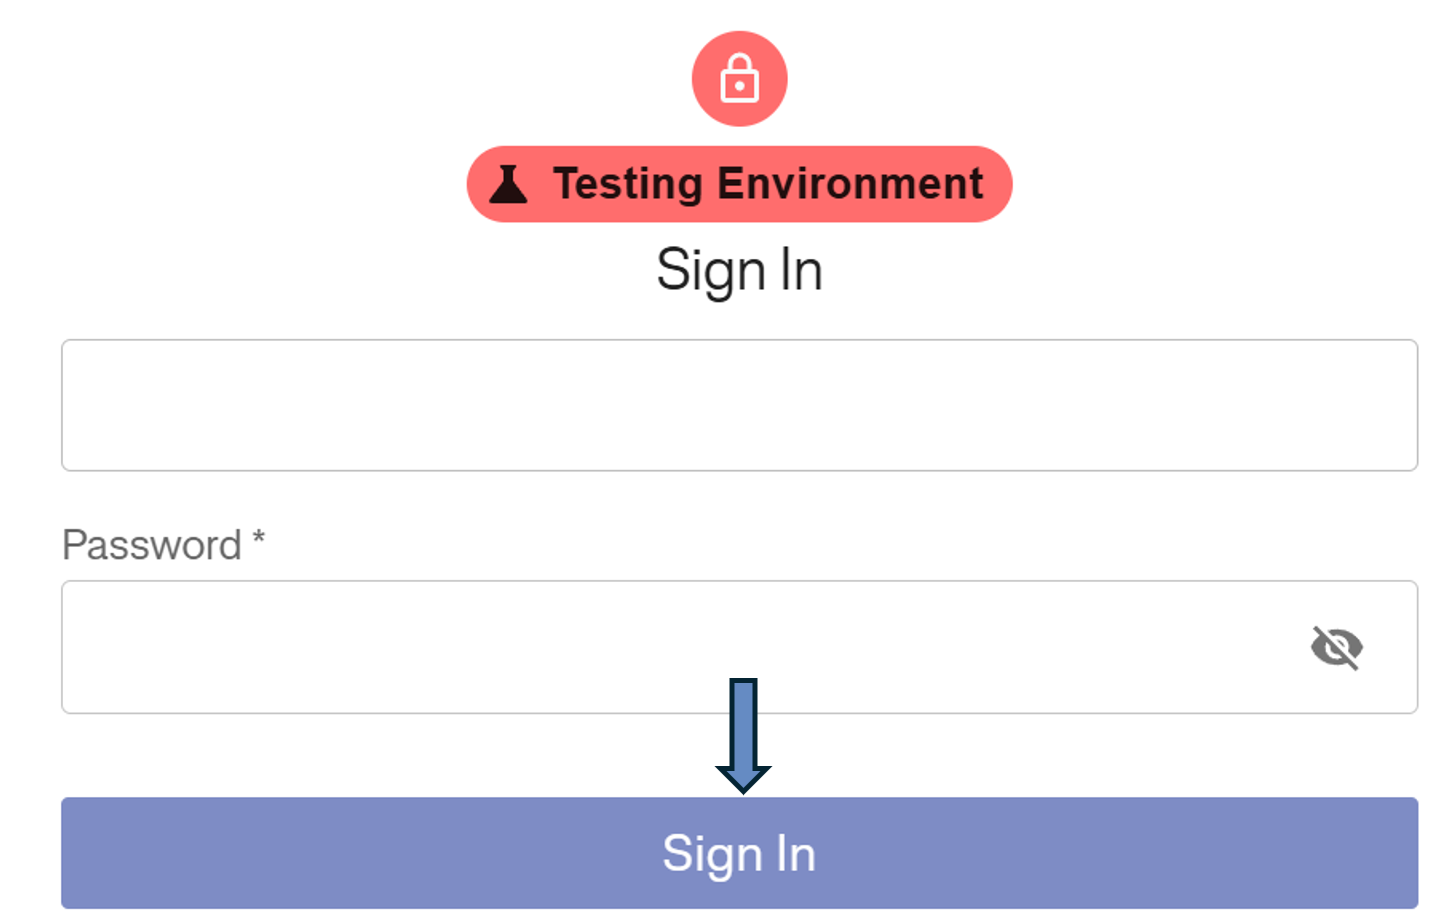
3. Authenticate: You will be prompted to re-enter your Password to verify your identity. Click Sign In.
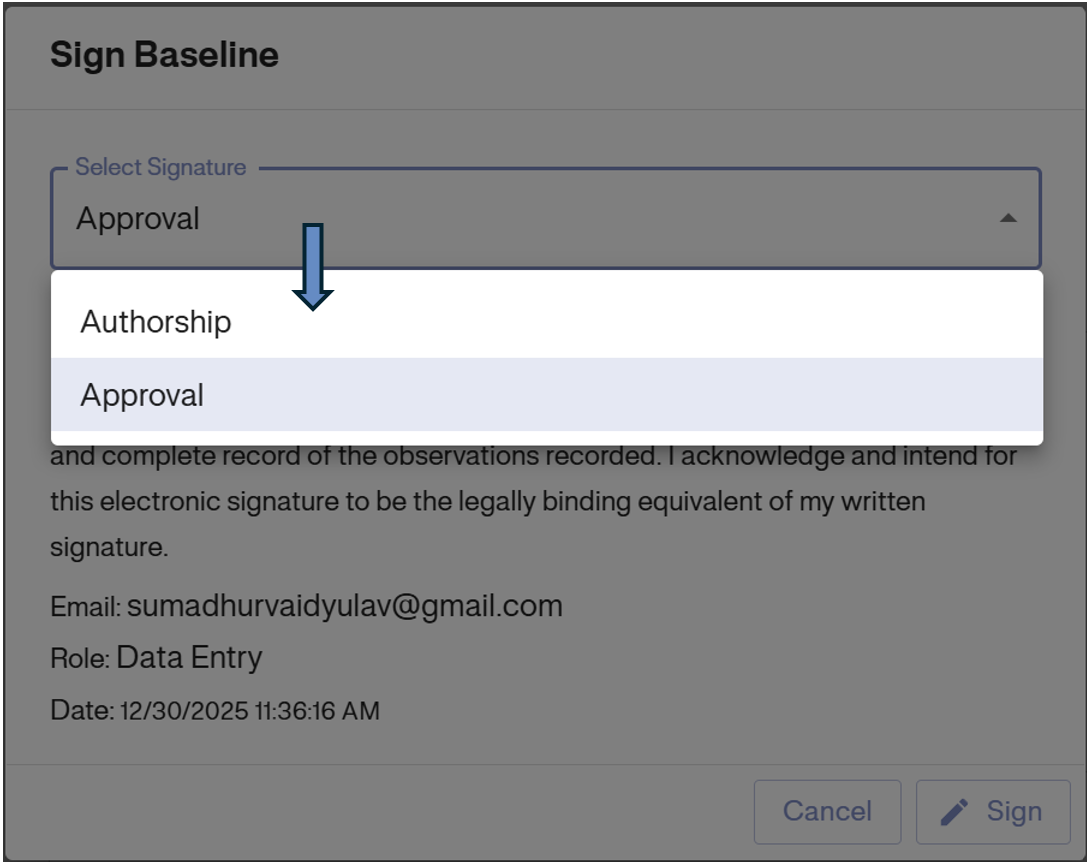
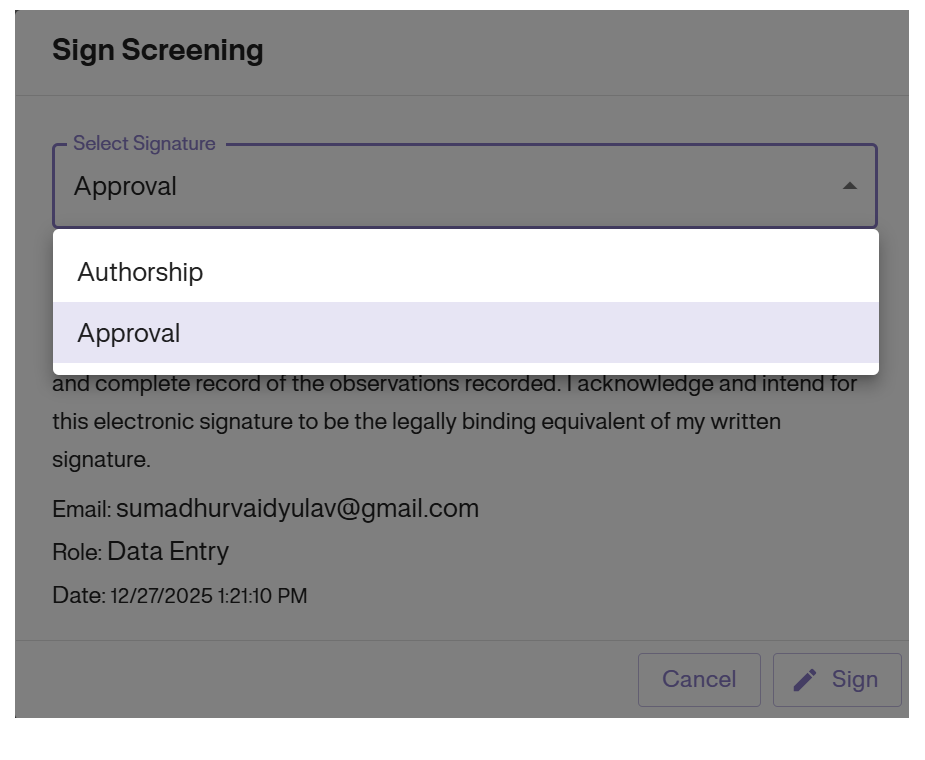
4. Select Signature Type: Choose the appropriate role from the dropdown menu:
- Authorship: Indicates you entered/authored the data.
- Approval: Indicates you reviewed and approved the data.
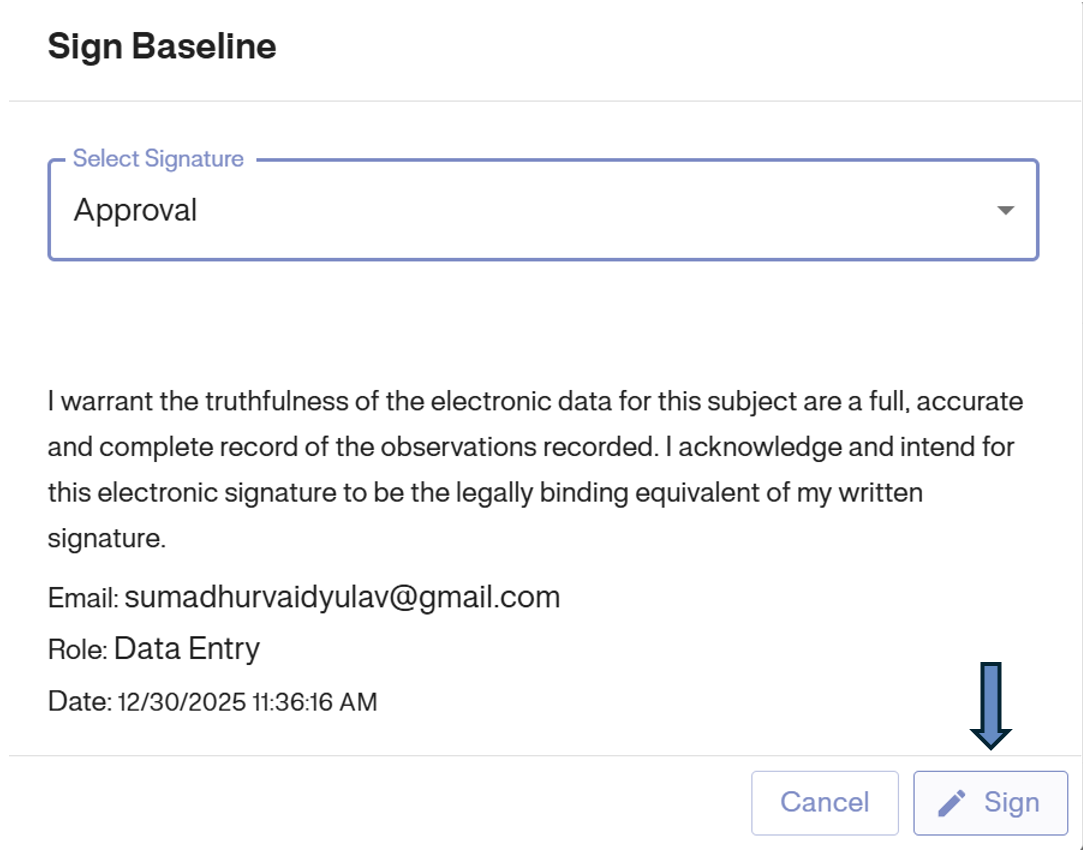
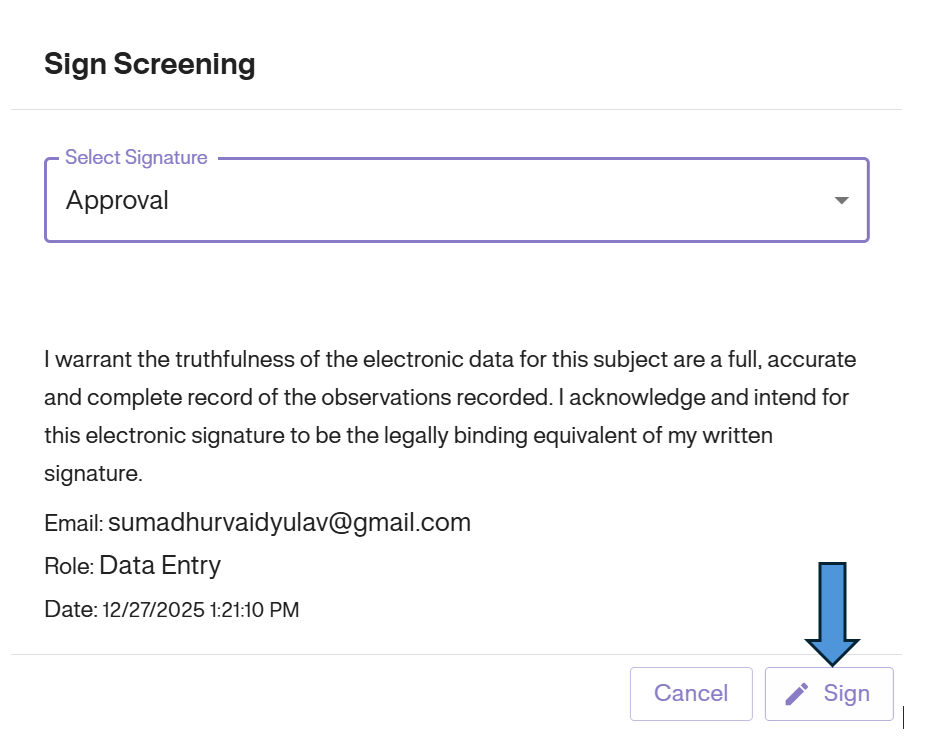
5. Confirm: Click the Sign button to finalize the digital signature.
Verification
Once signed successfully:
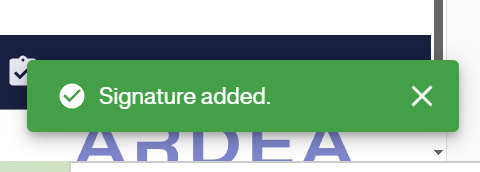
1. A green “Signature added” notification banner will appear at the bottom of the screen.
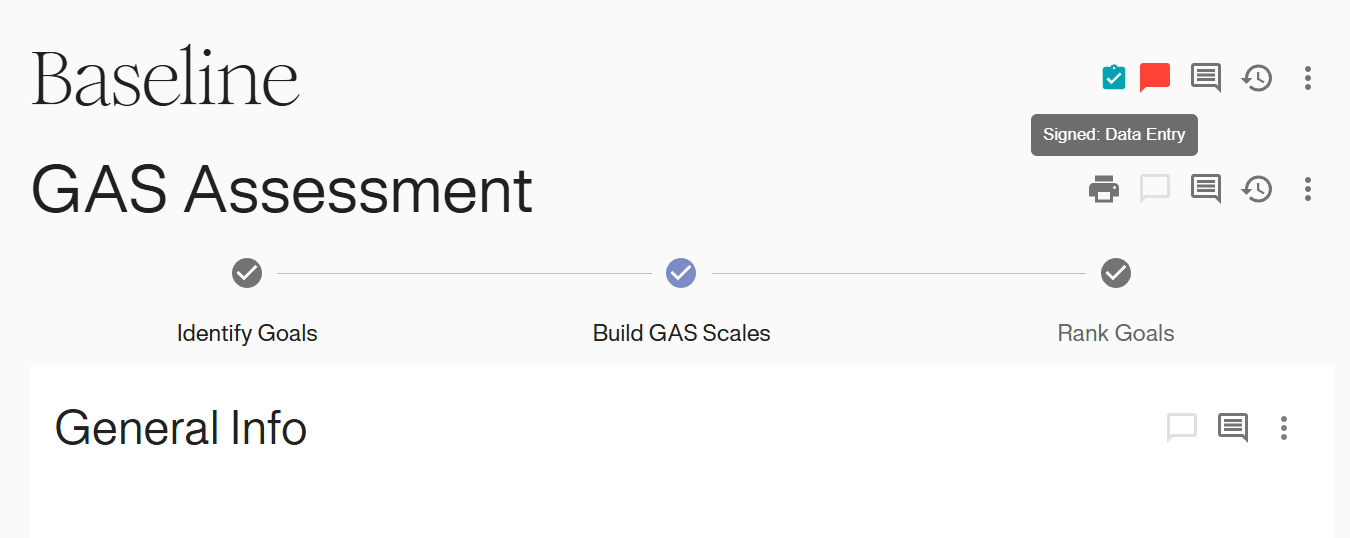
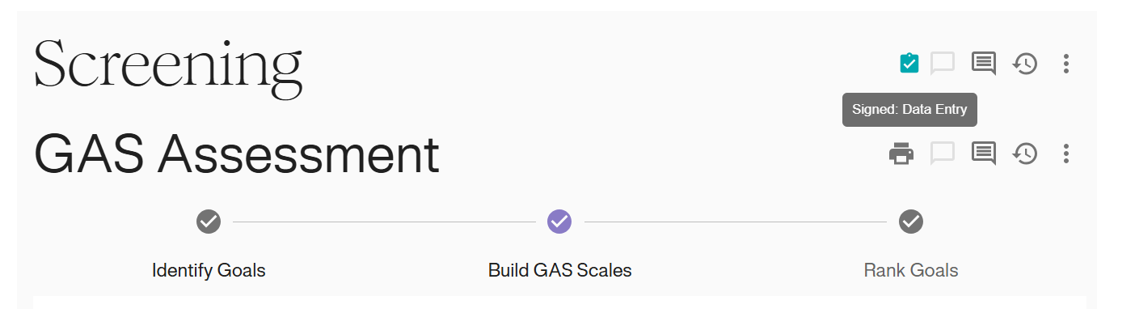
2. A Teal clipboard icon will appear next to the visit header. Hovering your mouse over the icon will show Signed: Data Entry, confirming the record is locked and signed.
Invalid Signatures (Re-Signing)
If any data is edited after a signature is applied, the signature becomes Invalid. You must re-sign the visit to validate the new changes.
1. Identify Invalid Status: In the Subject Dashboard, the visit will show a Clipboard with a Red Dot.
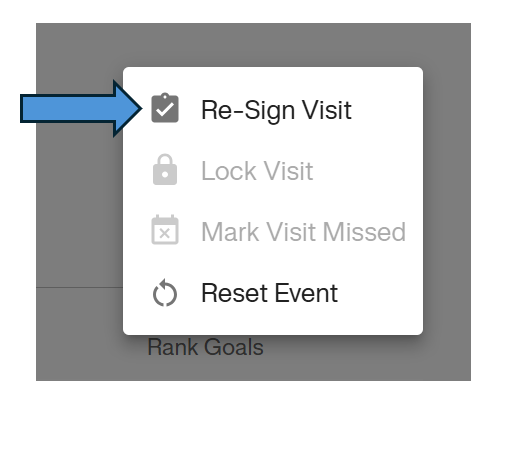
2. Access Menu: Open the visit and click the Options Icon (⋮) in the header.
3. Select Re-Sign: Click Re-Sign Visit from the dropdown menu.
4. Authenticate: Re-enter your password to confirm your identity.

5. Apply Signature: Select your role (e.g., Approval) and click the Sign button.
6. Verify: The icon will return to the standard Teal Clipboard, indicating the visit is validly signed again.
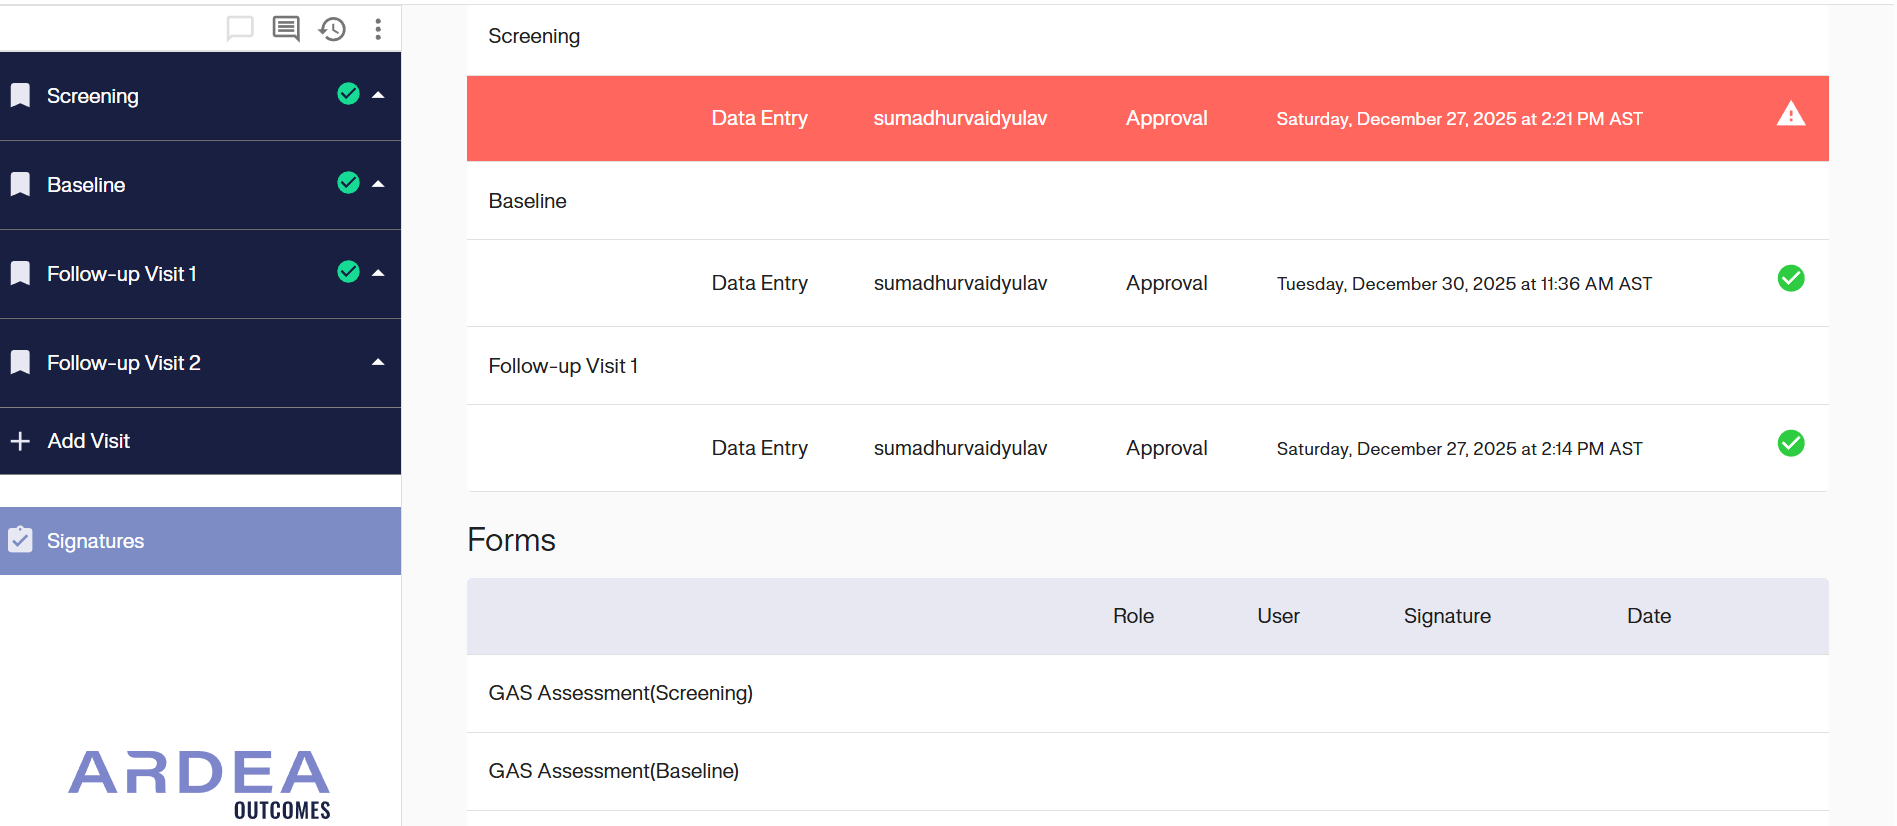
Viewing Signatures
You can access a consolidated view of all signatures associated with a subject or study.
1. Access the Menu: On the left-hand side navigation menu, navigate to the Signatures tab.
2. View Dashboard: This opens the Signatures Dashboard, which provides a list of all signed records, including the signer’s name, role, date, and current validity status (Valid or Invalid).