Managing Data (Edits, Queries & Comments)
This section covers how to handle edits, missed visits, queries, and comments.
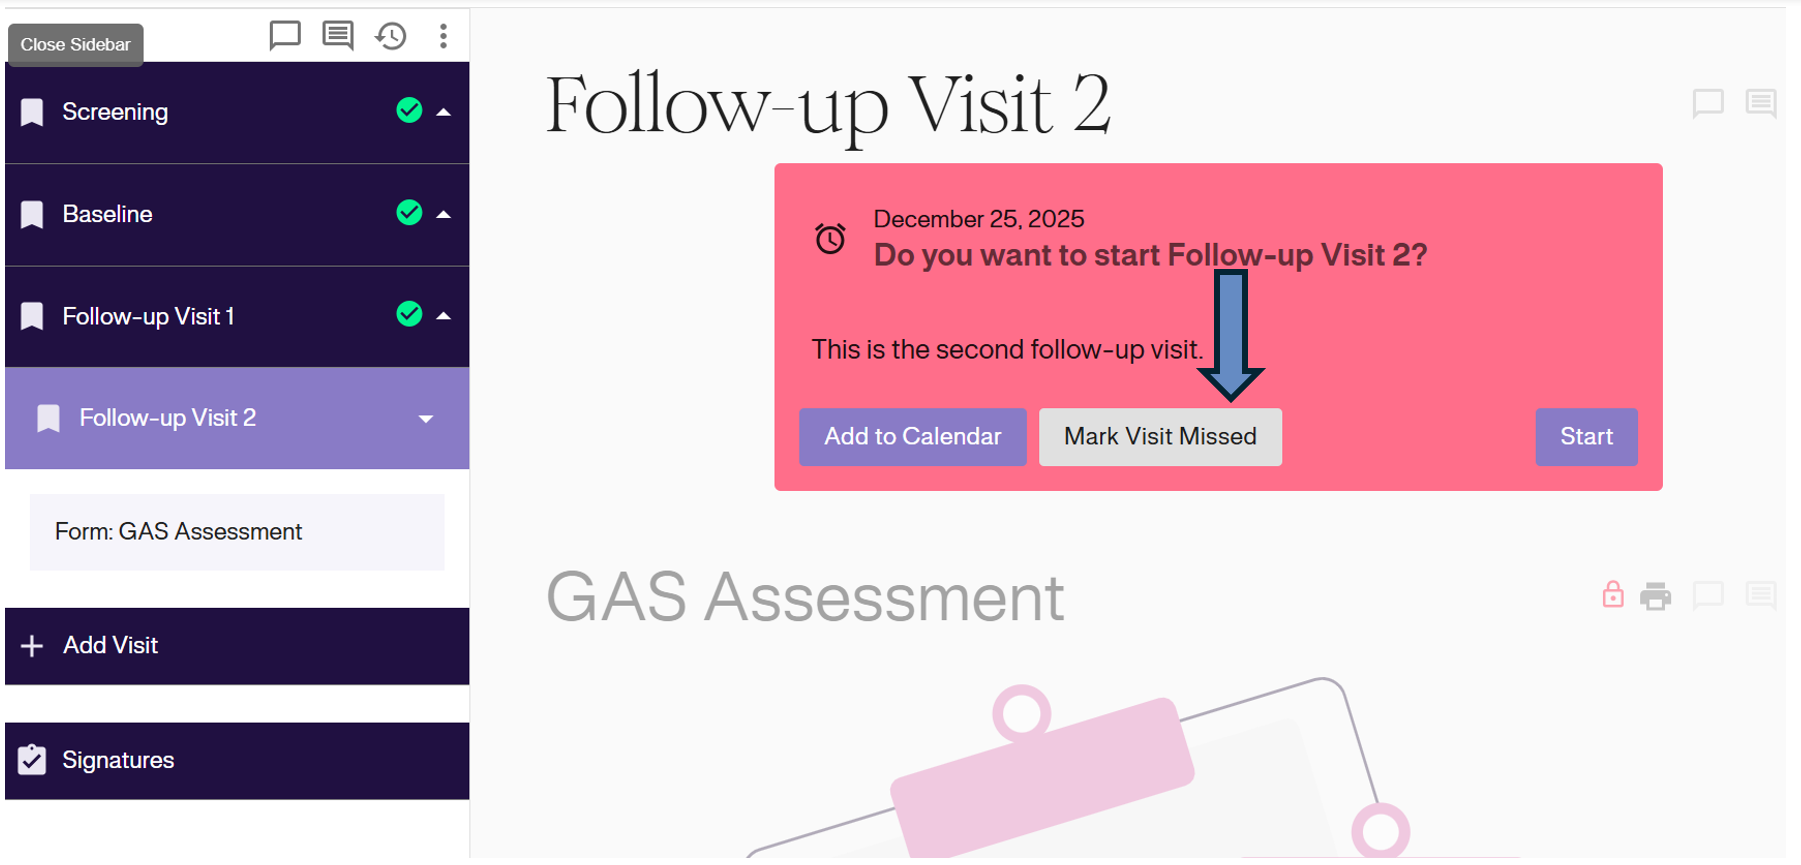
Missed Visits
If a subject misses a visit, you do not need to enter data sequentially. You can proceed to the next available visit.
- Recommendation: Open the missed visit and click Mark Visit Missed. This documents the absence in the system.
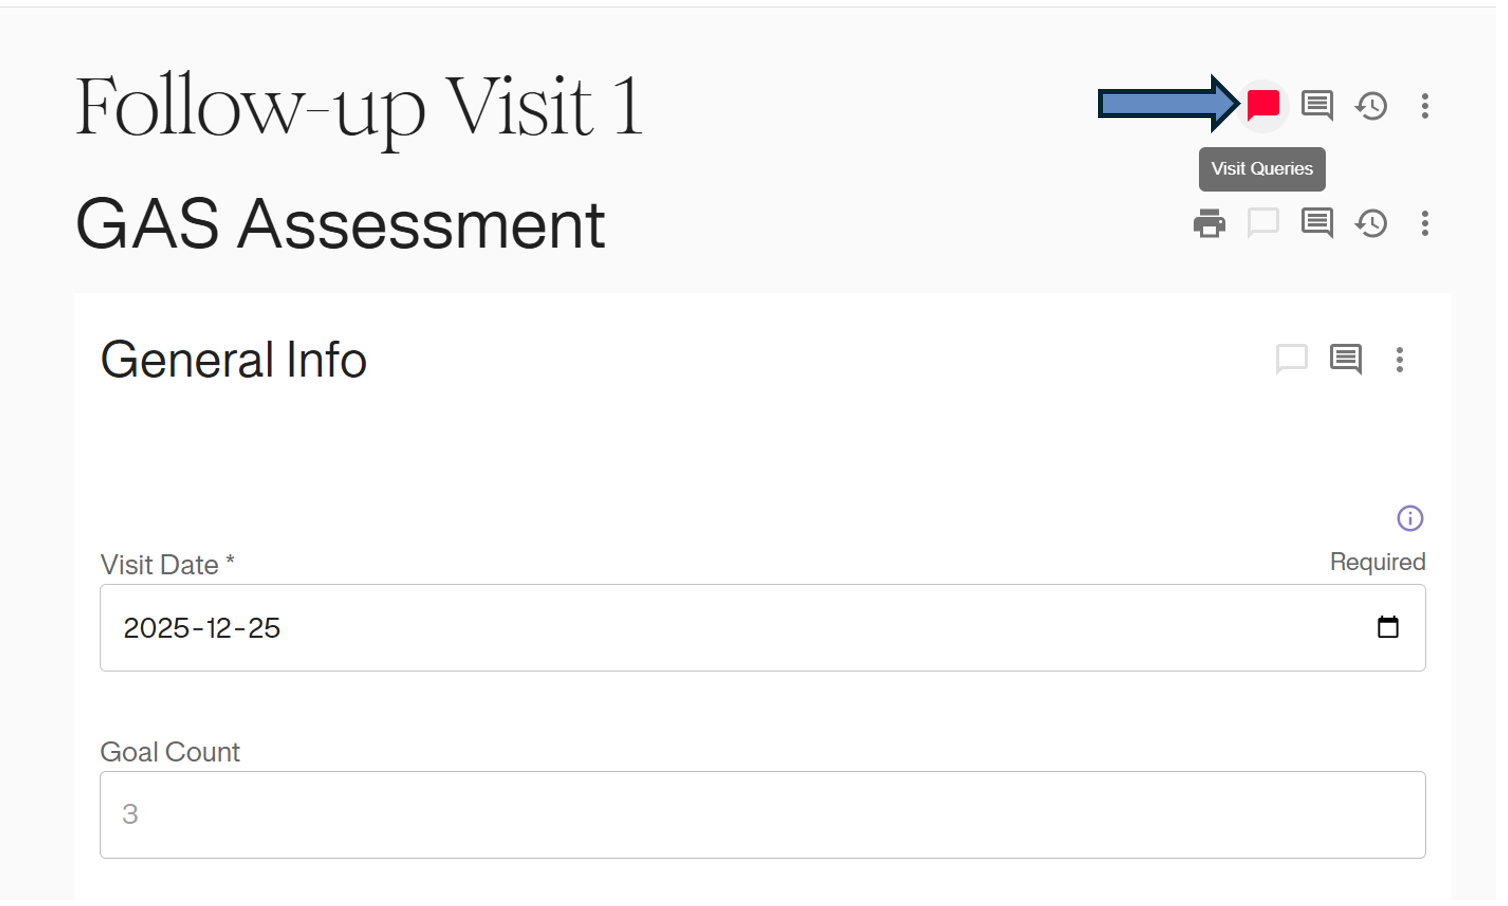
Responding to Queries
A Red Dialogue Icon next to a visit or form indicates an open query from a monitor.
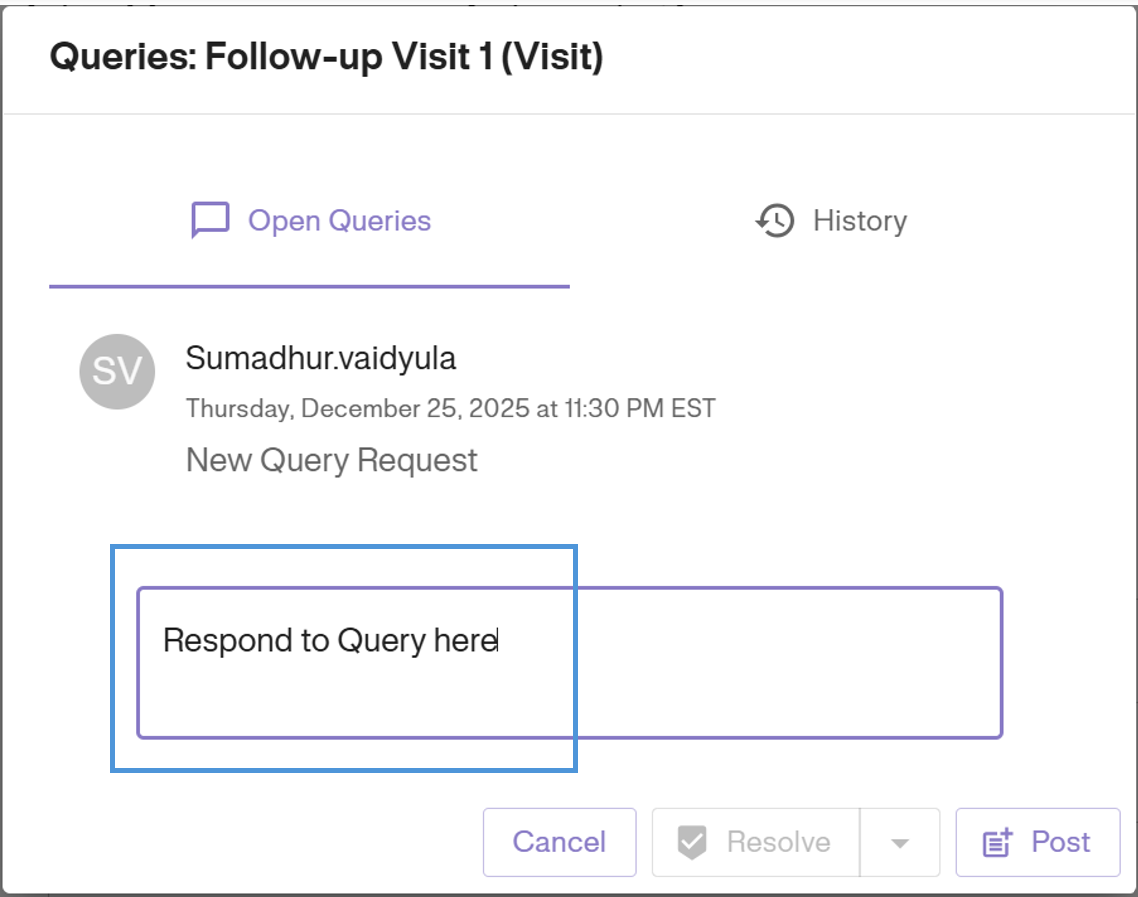
1. Click the Red Query Icon to open the query thread.
2. Read the request, type your answer in the text box, and click Post to resolve or reply.
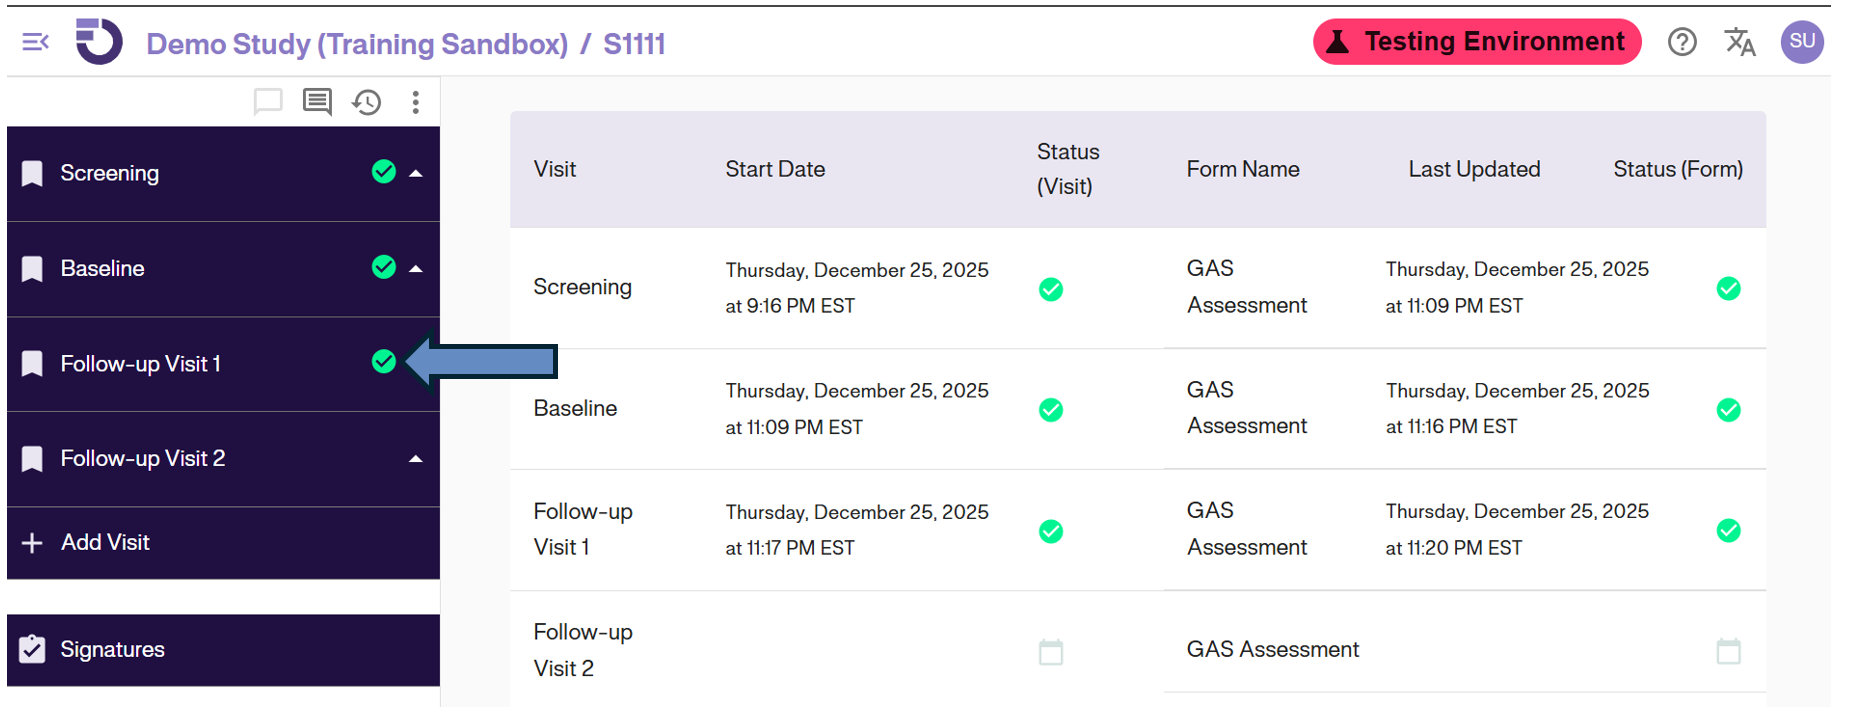
Editing Saved Data
Important: Edits should only be made if there is a genuine error or in response to a query.
1. Access the Visit: Open the completed visit (indicated by a green checkmark) that requires correction.
2. Make Changes: Modify the data in the form fields as needed.
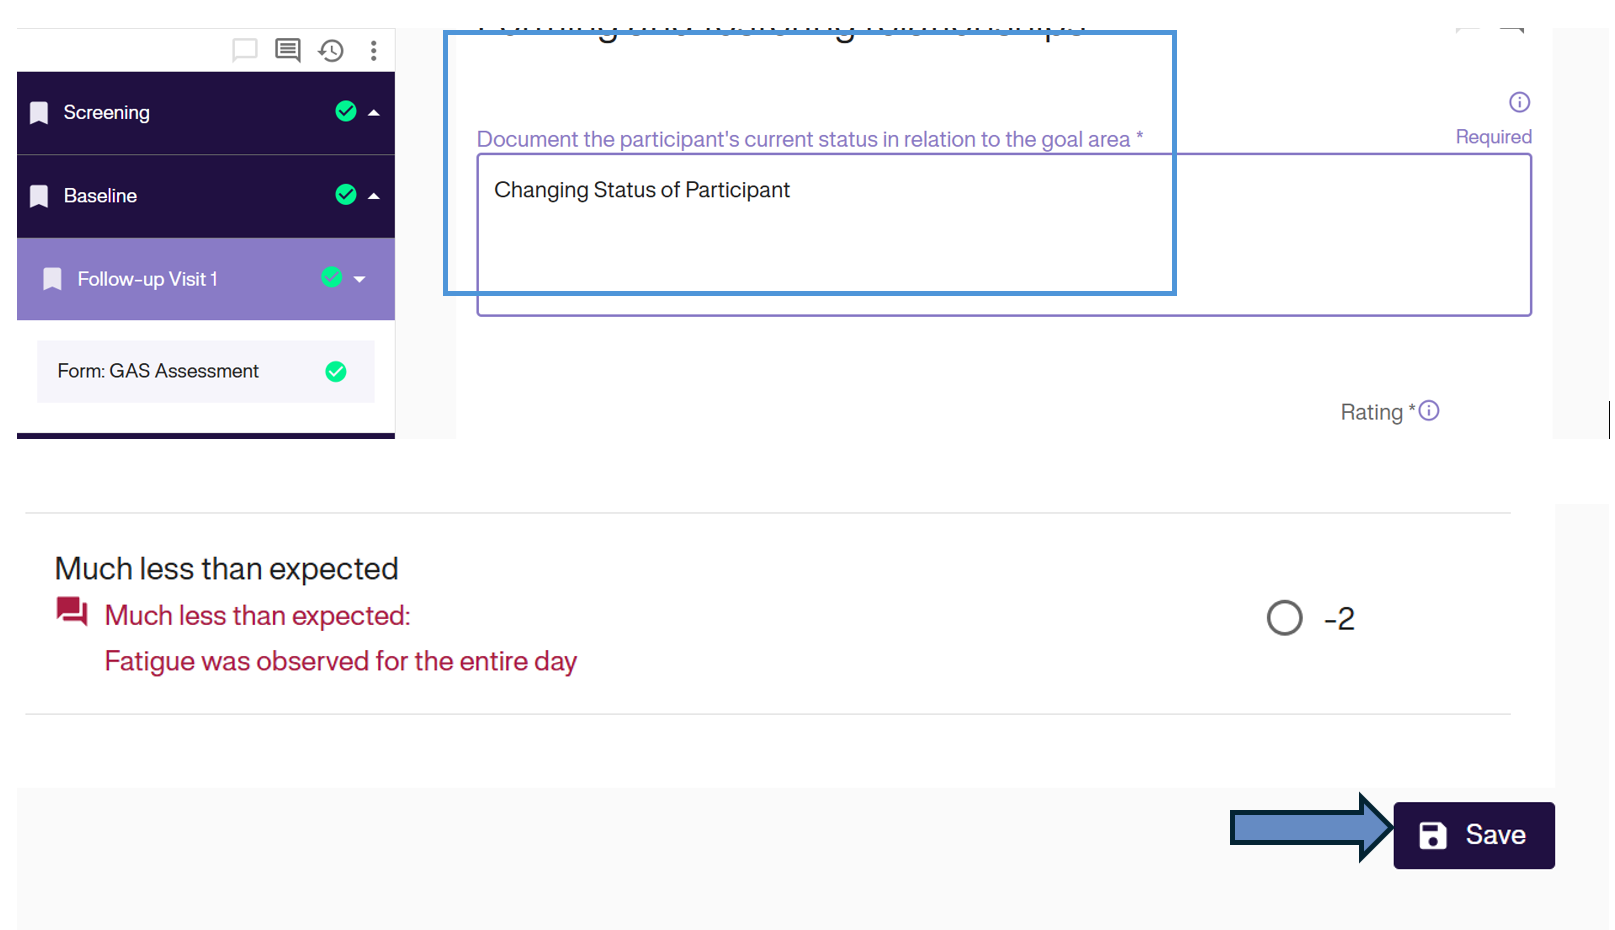
3. Provide Reason: You will be prompted to enter a “Reason for Edit”. This is mandatory for the audit trail.
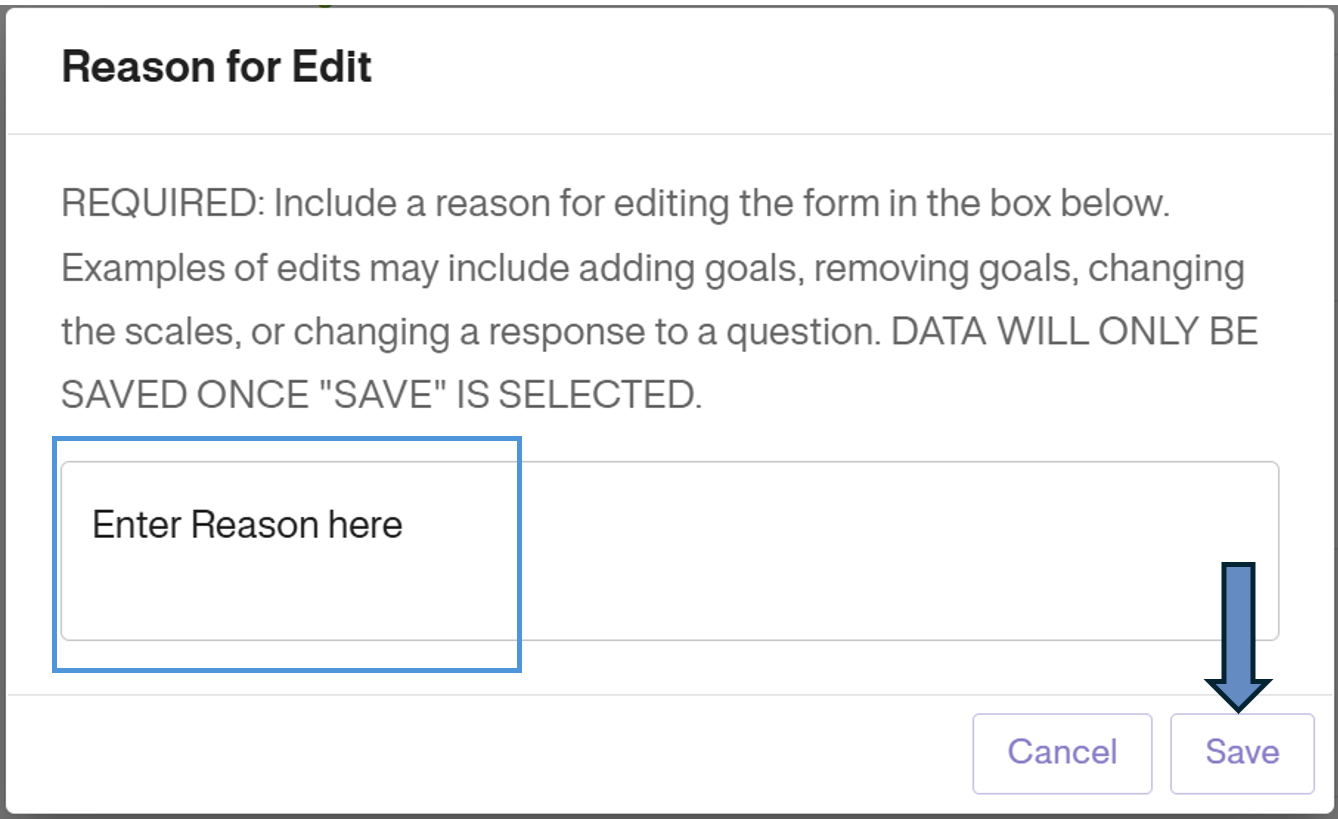
4. Click Save to finalize the change.
Warning: Editing a form that has been signed will invalidate the signature. The subject or investigator must re-sign the form after any edits.
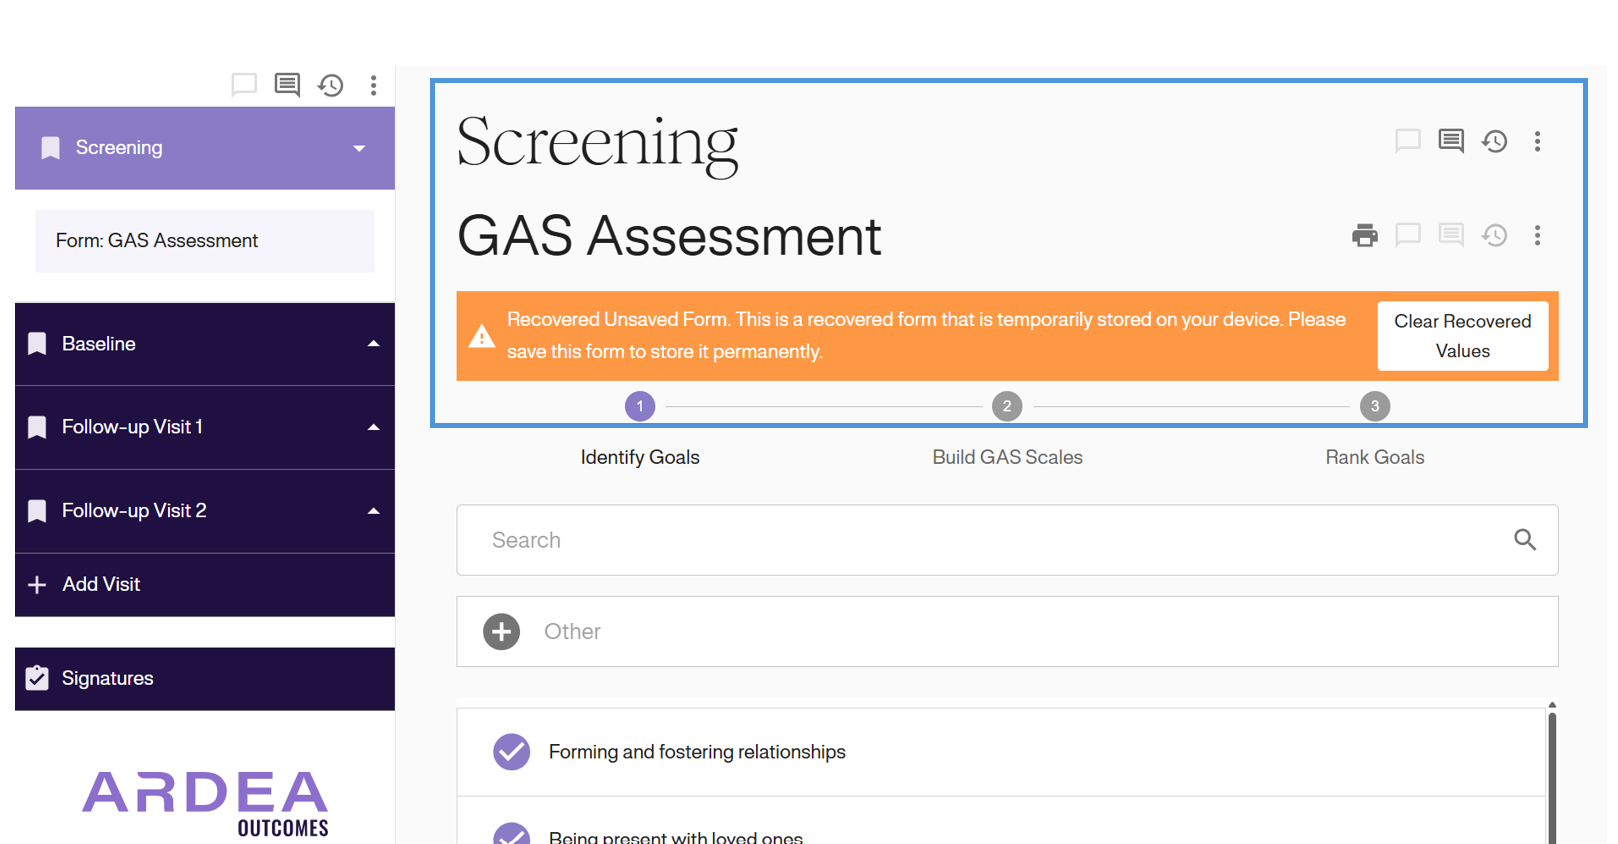
Auto-Saving & Recovery
GoalNav saves data to your local device automatically. If you lose internet connection or the browser crashes:
1. Reopen the form on the same device and browser used previously.
2. An orange banner will appear prompting you to recover unsaved data.
3. Click Clear Recovered Values if you wish to discard them, or simply review and click Save to push the recovered data to the server.
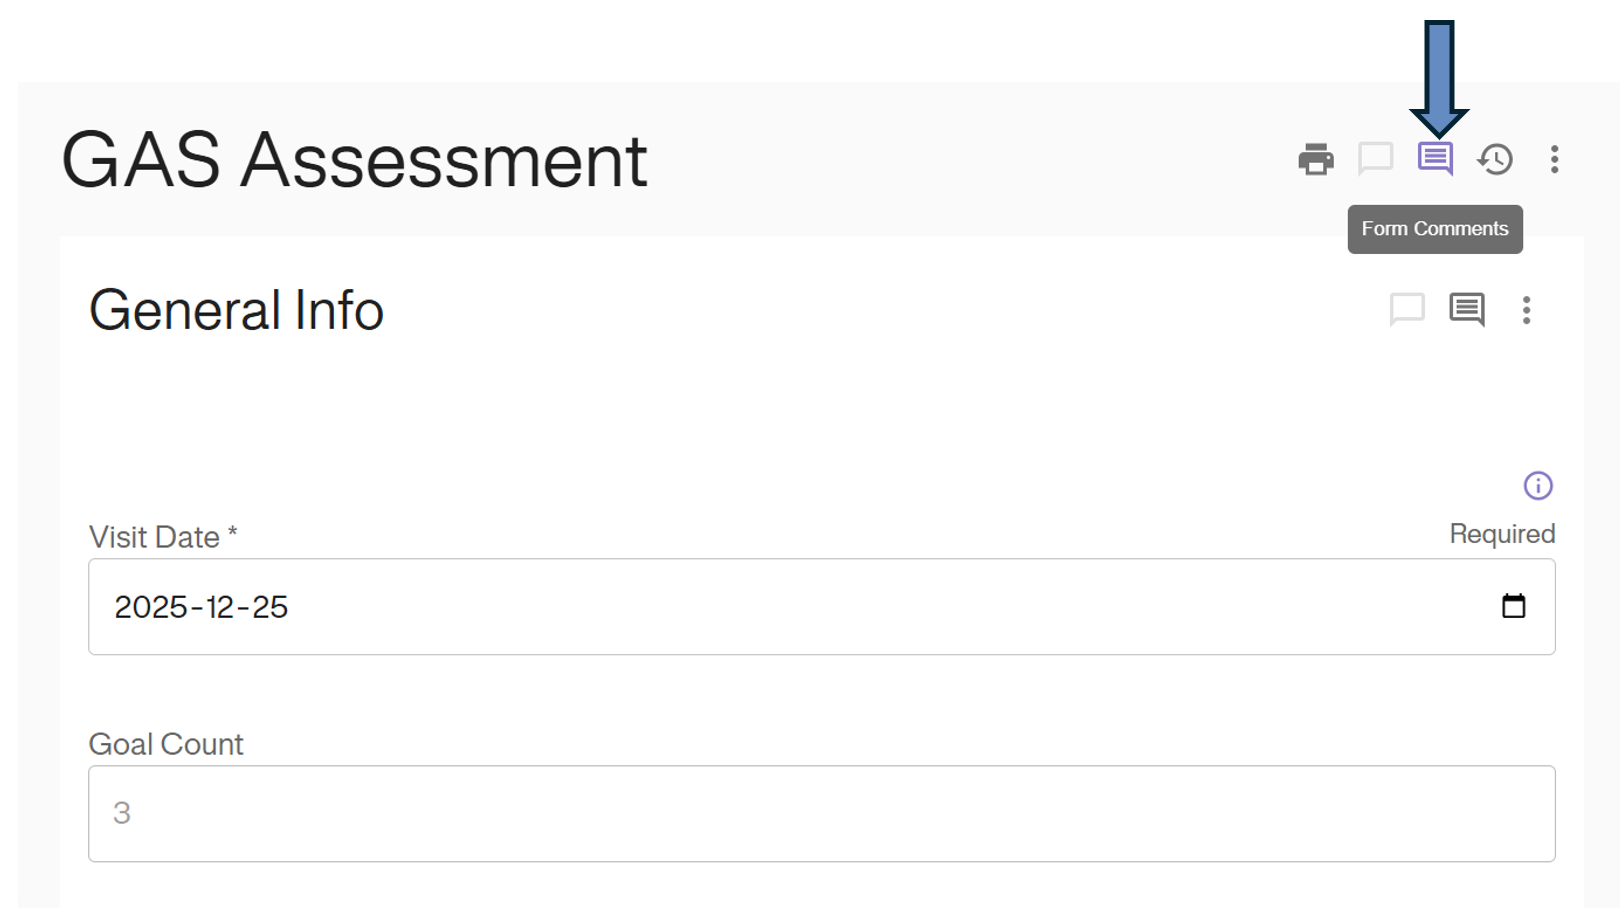
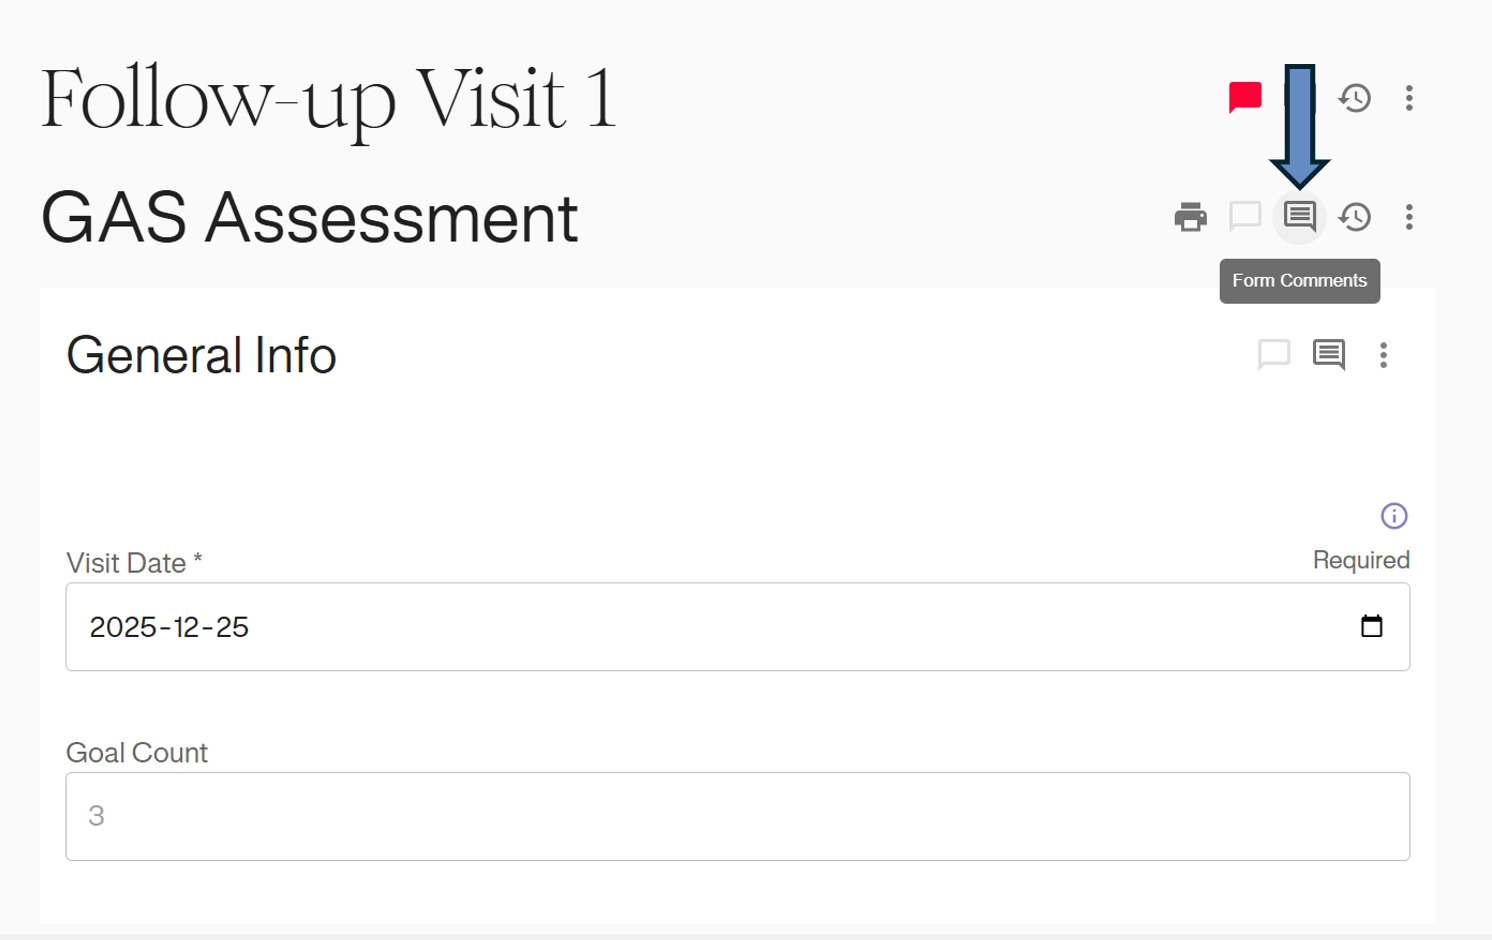
Comments
You can leave a comment on any specific form to add context for monitors or other study staff.
1. Click the Comment Icon (speech bubble) in the action toolbar.
2. Enter your note in the text box and click Post.
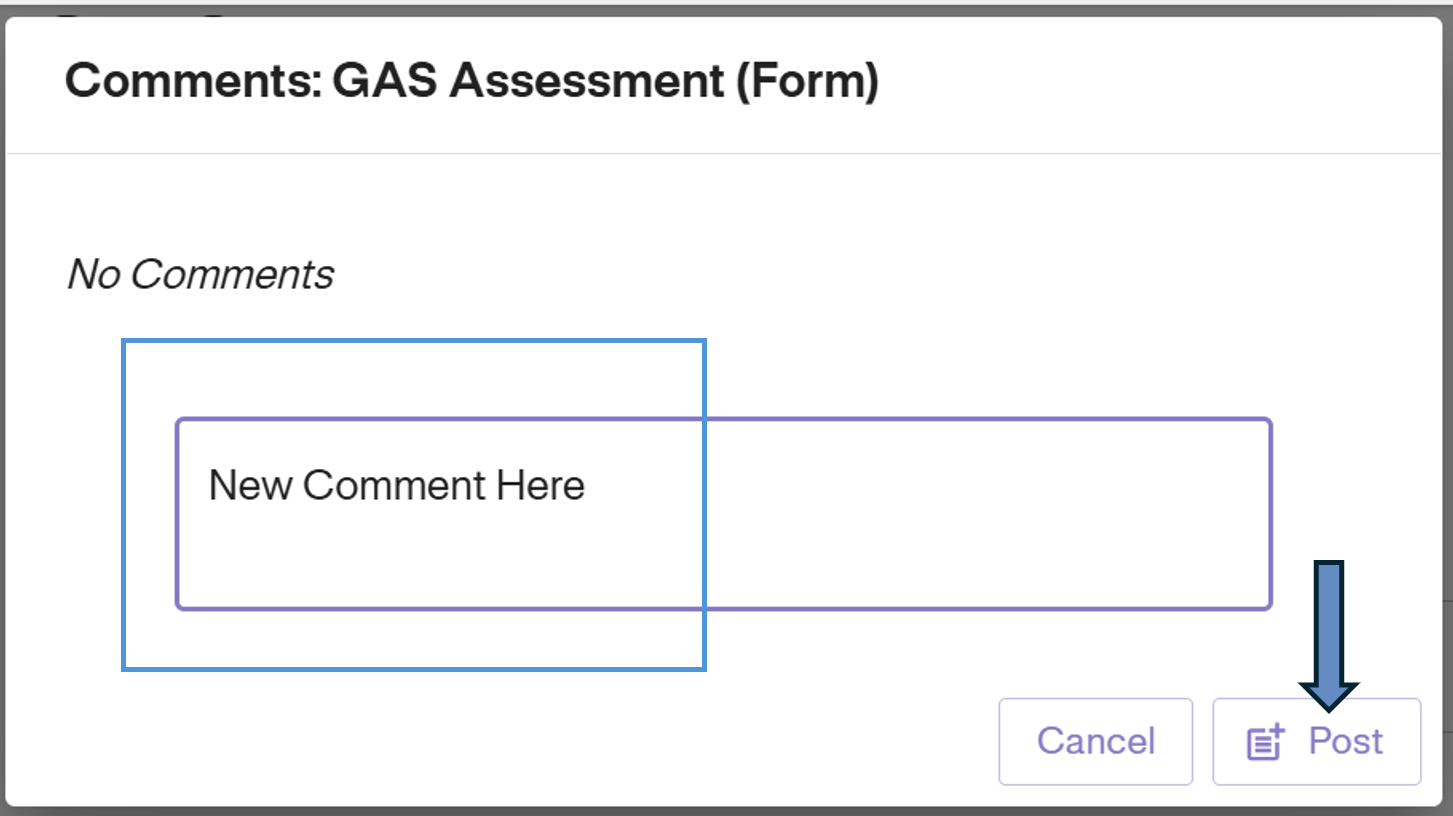
3. The icon will turn Purple/Blue to indicate that a comment has been saved to this form.