Signing Records
The following demonstrates how to complete principal investigator signatures should they be required for your study
Accessing Records
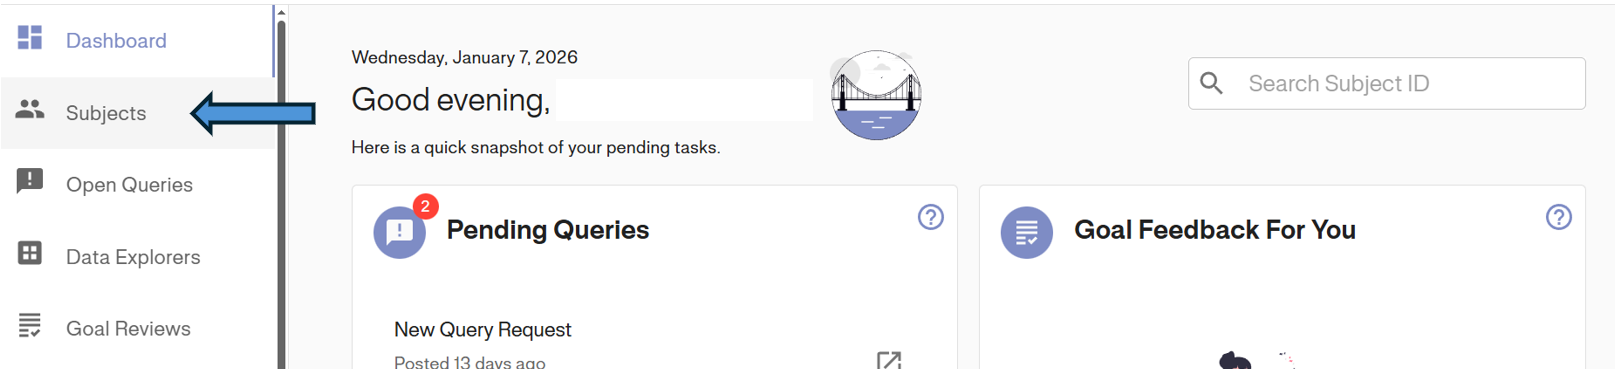
1. Navigate to Subjects: From the Dashboard, click Subjects in the left sidebar.
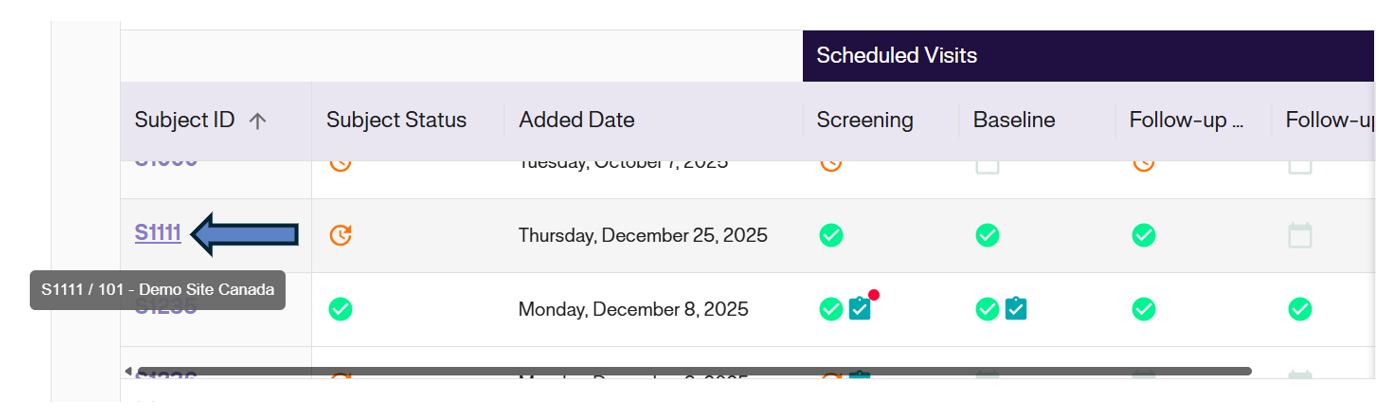
2. Select Subject: Click on the Subject ID from the Subject Matrix.
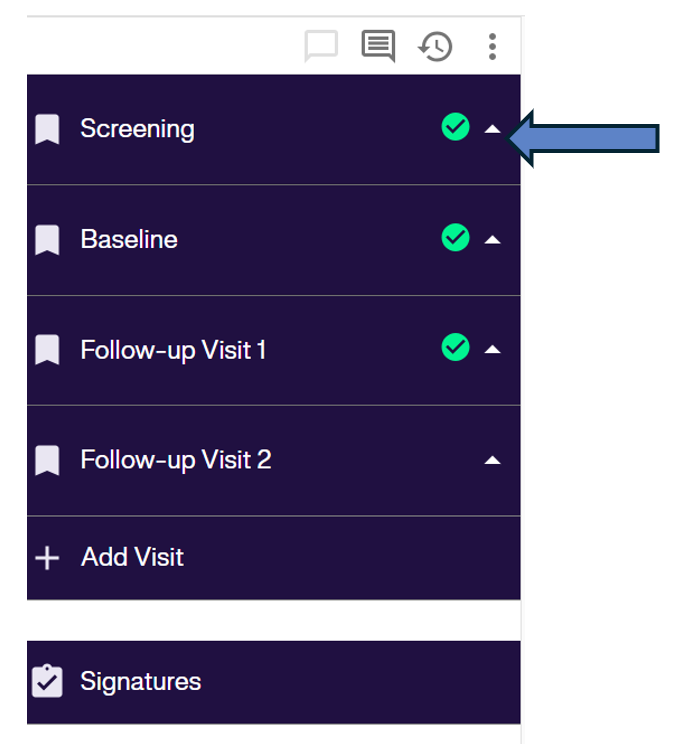
3. Select Visit: Identify the visit requiring a signature and click to open it.
Signing a Visit
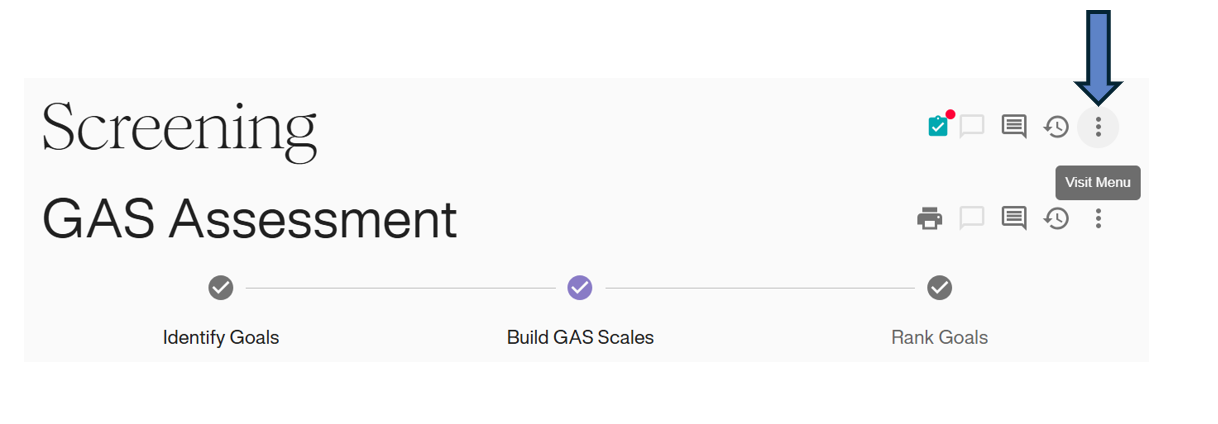
1. Open Menu: Inside the visit, click the Options Icon (⋮) in the top right header.
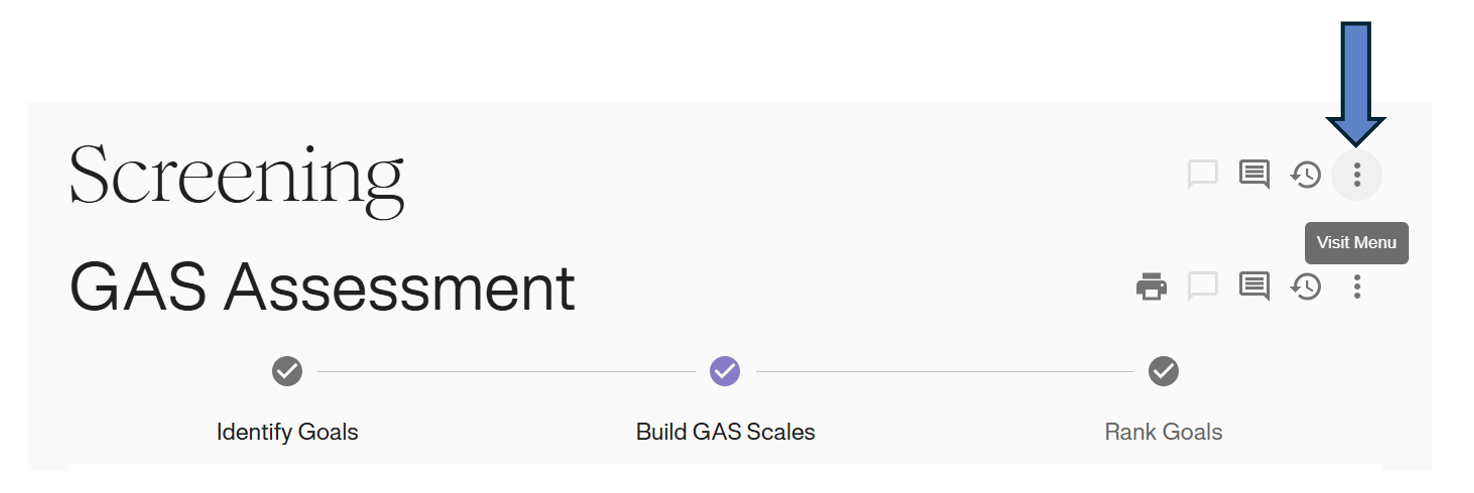
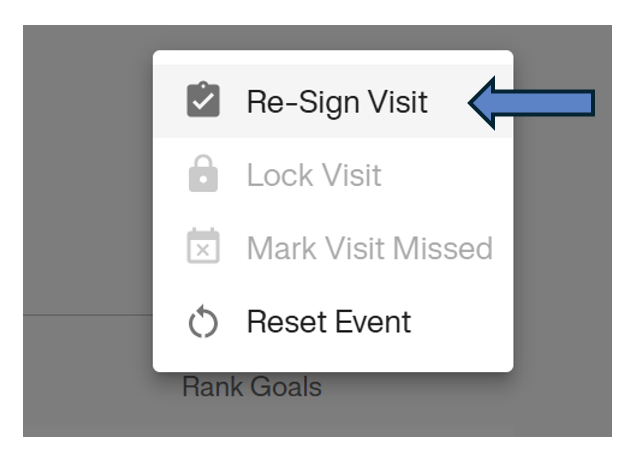
2. Initiate Signature: Select Sign Visit from the dropdown menu.

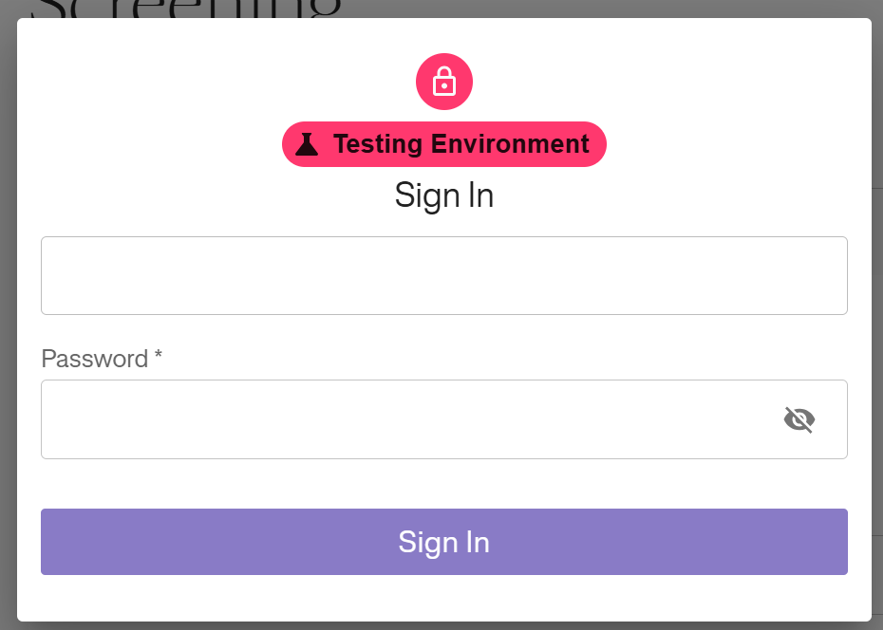
3. Authentication: You will be prompted to re-enter your Password to verify your identity. Click Sign In.
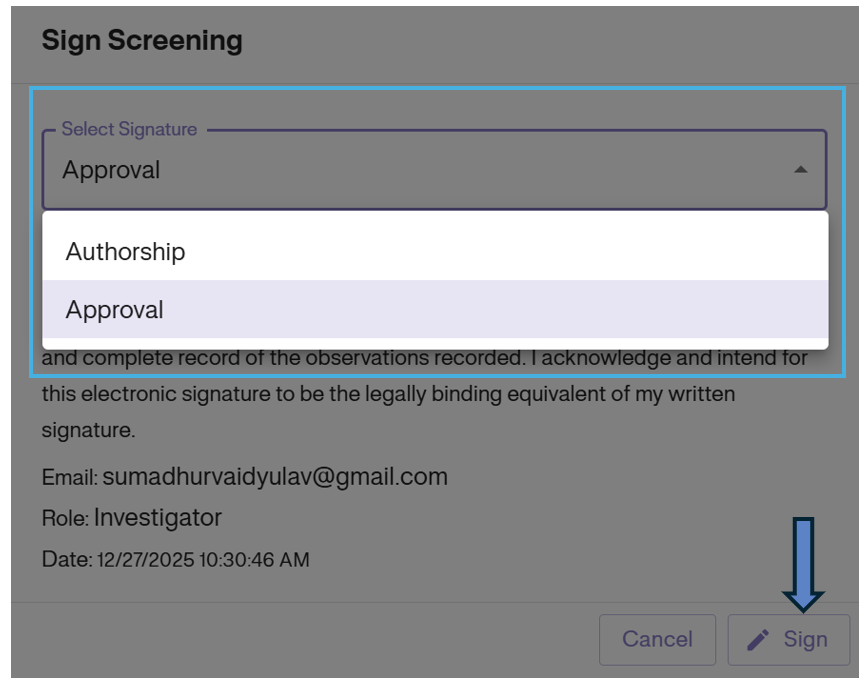
4. Select Role: In the pop-up window, select Approval from the “Select Signature” dropdown.
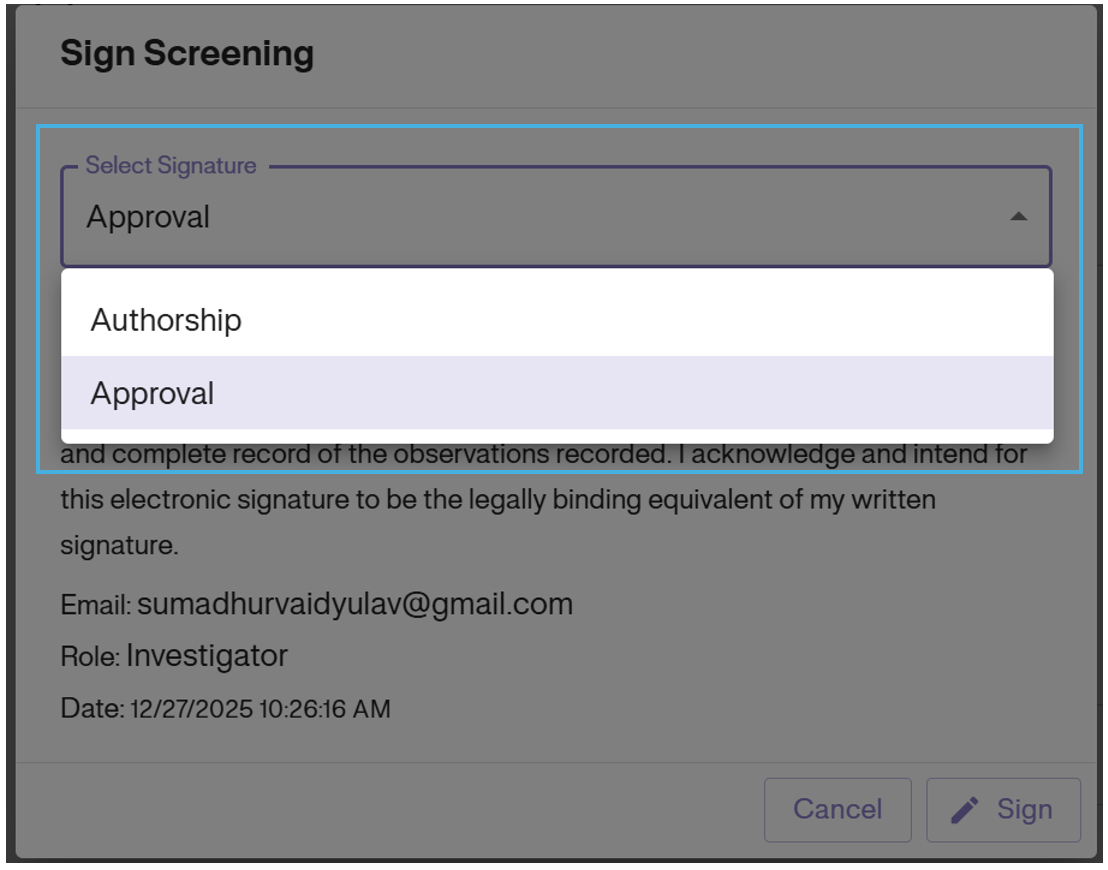
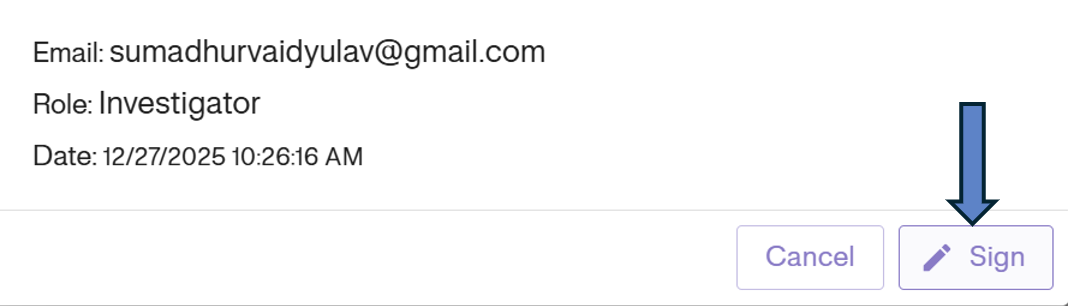
5. Attestation: Review the legal attestation statement and click the Sign button.
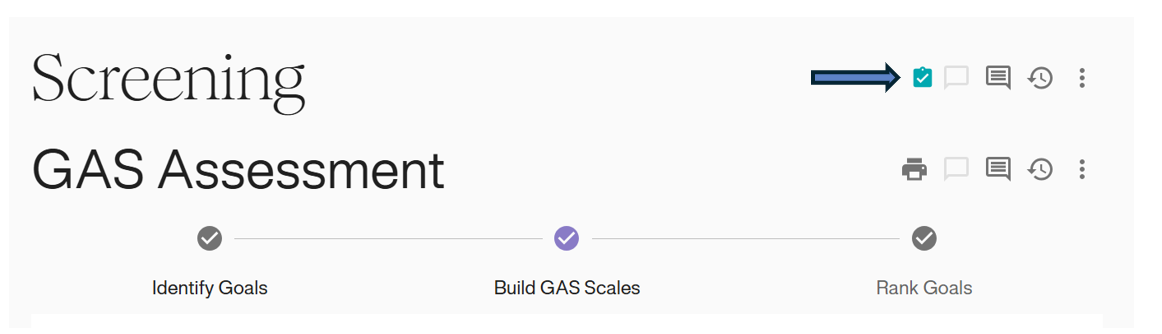
6. Confirmation: A green “Signature added” banner will appear, confirming the action.

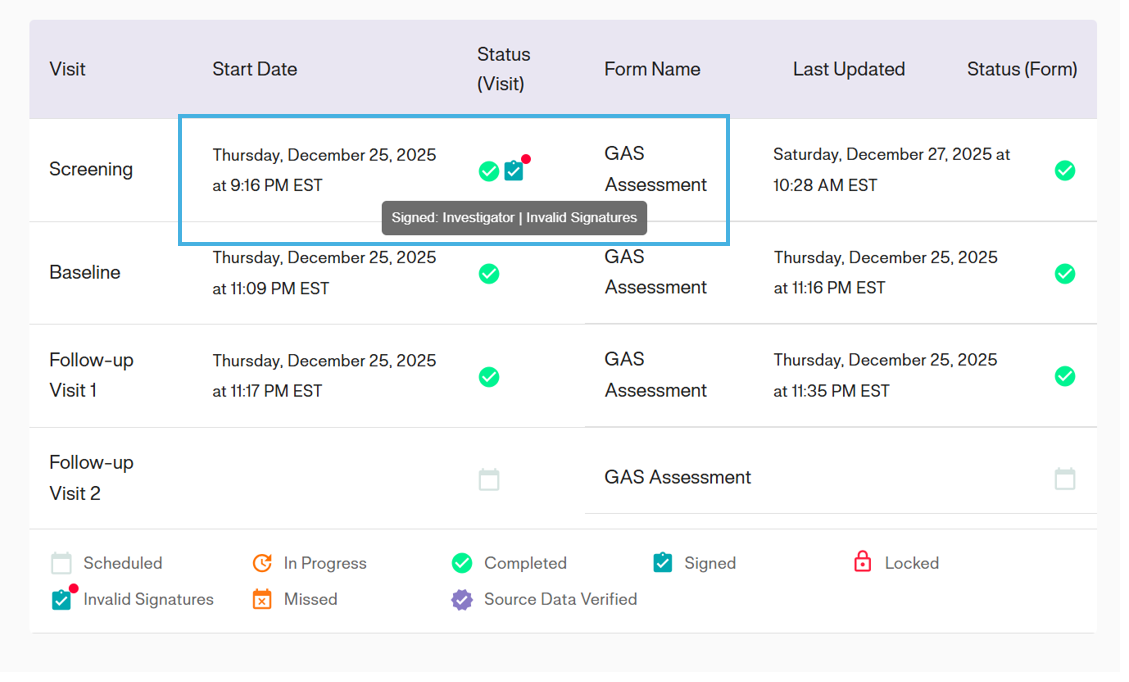
Invalid Signatures (Re-Signing)
If data is edited after a signature is applied, the signature becomes Invalid.
- Indicator: A Clipboard with a Red Dot appears. Hovering over it displays “Invalid Signatures”.
How to Re-Sign
1. Open Menu: Click the Options Icon (⋮) on the visit with the invalid signature.
2. Select Re-Sign: Click Re-Sign Visit from the dropdown options.
3. Confirm & Sign: Select your role (Approval) and click Sign.
4. Verification: The red dot will disappear, leaving a clean Teal Clipboard icon, indicating the signature is now valid.